

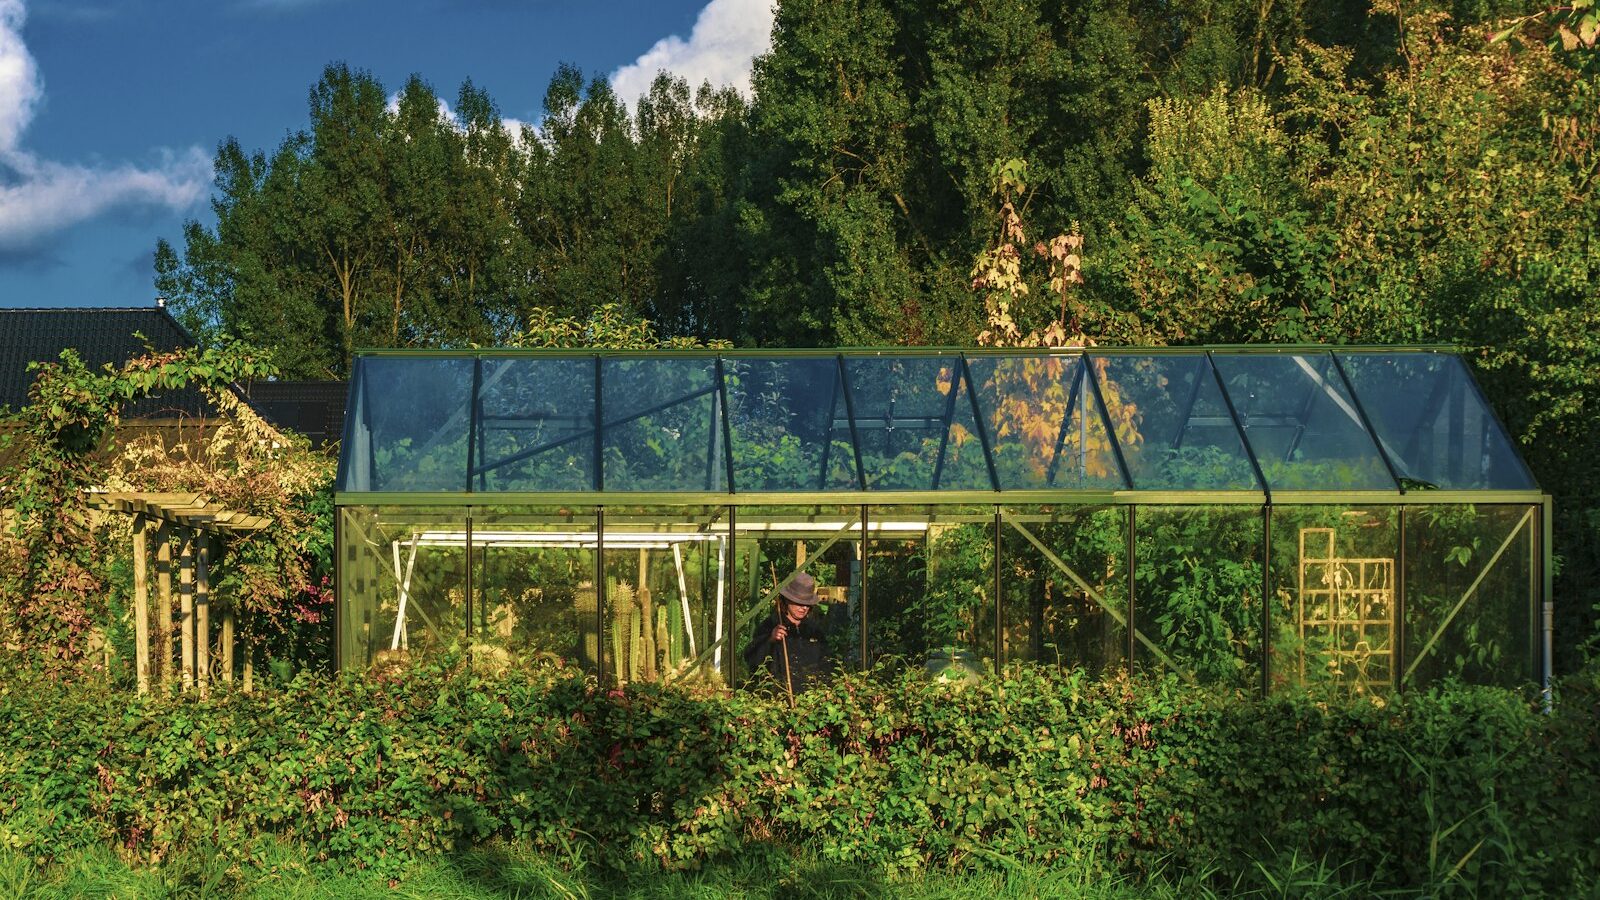
A greenhouse stretches your growing season in both directions: starting seedlings weeks earlier in spring and nursing tender crops long after the first frost. But “greenhouse” covers everything from a $60 zip-up shelf rack to a 64-square-foot polycarbonate building you can stand up and garden in. We researched the most popular real models on the US market for 2026 and sorted them into seven categories so you can match a structure to your yard, climate, and budget.
As an Amazon Associate we earn from qualifying purchases.
Our top picks
- Best overall: Palram Canopia Mythos 6′ x 8′ — the sweet spot of light, ventilation, and price.
- Best polycarbonate hard-sided: Palram Canopia Snap & Grow 8′ x 8′ — tool-light SmartLock assembly, room to grow.
- Best walk-in: Quictent 10′ x 6.6′ Walk-In — huge covered space for the money.
- Best mini / portable: Ohuhu 4-Tier Mini Greenhouse — balconies, patios, and seed starting.
- Best lean-to: Palram Canopia Hybrid Lean-To 4′ x 8′ — saves space against a wall.
- Best for cold climates: Palram Canopia Glory 8′ x 8′ — 10mm twin-wall for real insulation.
- Best budget hobby: VIVOSUN Mini Walk-In — get growing for under $100.
| Model | Type | Size | Best for |
|---|---|---|---|
| Palram Canopia Mythos 6′ x 8′ | Hard-sided, walk-in | 6′ x 8′ (48 sq ft) | Best overall |
| Palram Canopia Snap & Grow 8′ x 8′ | Hard-sided, walk-in | 8′ x 8′ (64 sq ft) | Polycarbonate hard-sided |
| Quictent 10′ x 6.6′ Walk-In | Film tunnel, walk-in | 10′ x 6.6′ (66 sq ft) | Walk-in space |
| Ohuhu 4-Tier Mini | Film shelf rack | 27″ x 19″ x 62″ | Mini / portable |
| Palram Canopia Hybrid Lean-To 4′ x 8′ | Hard-sided, lean-to | 4′ x 8′ (32 sq ft) | Lean-to / against a wall |
| Palram Canopia Glory 8′ x 8′ | Hard-sided, insulated | 8′ x 8′ (64 sq ft) | Cold climates |
| VIVOSUN Mini Walk-In | Film walk-in | ~57″ x 57″ x 77″ | Budget hobby |
The 7 best greenhouses for 2026
Palram Canopia Mythos 6′ x 8′ — best overall
If you want one greenhouse that does almost everything well, the Mythos is the model we’d point most home gardeners toward. It pairs a rust-proof aluminum frame with 4mm crystal-clear polycarbonate panels that transmit a lot of light while shrugging off UV, and it’s tall enough to walk into and work comfortably. The 6′ x 8′ footprint (about 48 square feet) is the size most people end up wishing they’d bought after starting smaller, and the Mythos line scales from 6′ x 4′ up to 6′ x 14′ if you need more or less. A hinged, lockable door with a magnetic catch and an adjustable roof vent give you real control over airflow on hot afternoons.
Owners consistently praise how bright and roomy it feels once assembled, and the panels hold up for years without yellowing. The main trade-off is assembly: budget a focused afternoon, follow the pictorial instructions carefully, and recruit a second set of hands for the panel stage. At roughly $500 for the 6′ x 8′, it sits squarely in the value sweet spot between flimsy film tunnels and pricey glass structures.
Pros
- Bright 4mm clear polycarbonate, UV protected
- Walk-in height with lockable door and roof vent
- Sizes from 6’x4′ to 6’x14′
- Excellent long-term value
Cons
- Assembly takes patience and ideally two people
- Single-wall panels insulate less than twin-wall
Palram Canopia Snap & Grow 8′ x 8′ — best polycarbonate hard-sided
The Snap & Grow earns its name from Palram’s SmartLock connecting system, which snaps the frame together with far less fiddly hardware than a traditional nut-and-bolt kit. That makes it the hard-sided greenhouse we’d recommend if assembly anxiety is the thing holding you back. The 8′ x 8′ model gives you a generous 64 square feet, enough to run staging benches down both sides with a comfortable aisle in the middle, and the line extends all the way up to 8′ x 32′ if you catch the growing bug.
Construction is the familiar Palram recipe: aluminum frame, galvanized steel base, and clear polycarbonate panels with UV protection. Owners report being very happy after months of four-season use, citing the sturdy feel and spacious interior. As with all of these kits, anchor it properly and the panels will stay put; skip anchoring and a strong gust can be a problem. Expect to pay around $700 for the 8′ x 8′, a fair premium for the size and the easier build.
Pros
- SmartLock system speeds up assembly
- Roomy 64 sq ft, expandable line
- Aluminum frame and galvanized steel base
Cons
- Higher price than the Mythos
- Must be securely anchored against wind
Quictent 10′ x 6.6′ Walk-In — best walk-in
When you want the most covered, stand-up growing space per dollar, a steel-frame film tunnel beats a hard-sided kit every time, and Quictent is one of the most popular makers of them. The 10′ x 6.6′ x 6.6′ model gives you roughly 66 square feet under a heavy-duty PE cover with reinforced, rounded crossbars that shed rain and snow instead of pooling it. Two zippered screen doors and multiple mesh windows let you throw the whole structure open for ventilation on hot days, then zip it tight overnight.
The whole thing weighs under 80 pounds, so a couple of people can relocate it across the yard, and it goes up in an afternoon with no panel puzzle. The honest caveat is wind: film greenhouses live and die by their anchoring. If you’re in an exposed, gusty spot, stake and tie it down aggressively or consider a hard-sided model instead. For sheltered yards and seasonal use, the value is hard to beat.
Pros
- Huge ~66 sq ft of walk-in space for the price
- Two screen doors and many mesh windows for airflow
- Lightweight and relocatable; fast setup
Cons
- Film cover is vulnerable in high wind without aggressive anchoring
- Cover wears faster than polycarbonate over many seasons
Ohuhu 4-Tier Mini Greenhouse — best mini / portable
Not everyone has the yard for a building. The Ohuhu mini is a 27″ x 19″ x 62″ shelf rack wrapped in a durable, anti-tear PE cover with UV protection, and it’s the one we’d hand to apartment dwellers, balcony gardeners, and anyone who just needs to harden off seedlings in spring. Four shelves (each rated to about 22 pounds) hold a surprising number of seed trays, and a zippered roll-up door gives you easy access and quick ventilation. Thicker, larger-diameter poles than you’ll find on the cheapest racks make it noticeably more stable.
It assembles and breaks down with no tools, so you can store it flat in the off-season. With a 4.4-star average from thousands of buyers and a price around $46, it’s an easy, low-risk way to extend your season. Because it’s so light, the one rule is non-negotiable: secure it. Tie it to a railing or wall, or a strong gust will tumble it across the patio.
Pros
- Compact footprint for balconies and patios
- Four shelves, roll-up zip door, tool-free setup
- Inexpensive and packs away flat
Cons
- Must be tied down or it blows over easily
- Film cover is best for seed starting, not heavy winter use
Palram Canopia Hybrid Lean-To 4′ x 8′ — best lean-to
A lean-to leans against an existing wall or fence, which saves space and lets the structure borrow warmth from the building behind it. Palram’s 4′ x 8′ Hybrid Lean-To is the standout: it combines twin-wall polycarbonate roof panels for heat retention with crystal-clear side panels for maximum light, all on an aluminum frame with a galvanized steel base. You get an adjustable roof vent, rain gutters, and a lockable hinged door with a magnetic catch, the same quality hardware Palram puts on its freestanding kits.
Owners report years of reliable service, with the twin-wall roof keeping the interior a few degrees warmer than outside. Because one long side is the wall, this is the most space-efficient way to add a real walk-in growing space to a narrow side yard or a sunny south-facing wall. Make sure that wall actually gets good sun, since the lean-to design trades one side of glazing for the structure it’s mounted to.
Pros
- Space-saving against a wall or fence
- Twin-wall roof for better heat retention
- Roof vent, rain gutters, lockable door
Cons
- Needs a sturdy, sunny wall to mount to
- Less total glazing than a freestanding model
Palram Canopia Glory 8′ x 8′ — best for cold climates
If your goal is genuine four-season growing in a cold region, glazing thickness matters more than anything else. The Palram Glory is built around 10mm twin-wall polycarbonate panels throughout, which is widely considered the sweet spot for insulation: roughly double the R-value of single-pane glass without the cost of commercial-grade panels. That twin-wall construction holds heat overnight and sheds snow off the roof, two things a single-wall or film greenhouse struggles with in a hard winter.
The Glory rides on a heavy, powder-coated aluminum frame and includes Palram’s usual roof vent and lockable door. The 8′ x 8′ footprint gives you room for benches and a small heater if you want to push temperatures lower into winter. It’s a premium structure and priced accordingly, but for anyone in a northern climate trying to overwinter tender plants or grow cold-hardy greens through the dark months, the insulation is worth it. Pair it with a thermostatically controlled heater for the coldest nights.
Pros
- 10mm twin-wall panels for strong insulation
- Sheds snow and holds overnight heat
- Heavy powder-coated aluminum frame
Cons
- Premium price
- Heavier, more involved assembly
VIVOSUN Mini Walk-In — best budget hobby
For under $100, the VIVOSUN walk-in is the model that has introduced thousands of people to greenhouse growing, and it remains one of Amazon’s best-selling greenhouses with thousands of reviews. You get a compact walk-in footprint (roughly 57″ x 57″ x 77″) with a powder-coated steel frame, a reinforced PE cover, and built-in shelving and hanging space, so a single person can start trays, overwinter potted herbs, and harden off seedlings without committing real money.
It’s not a structure for snow loads or sustained wind, and the cover is the part that eventually wears out, but as a first greenhouse or a seasonal seed-starting tent it punches far above its price. Set it on a sheltered patch, anchor the frame to the ground, and roll the door up on warm days to vent. If it earns its keep for a couple of seasons, you’ll know exactly what to look for when you upgrade to a hard-sided kit.
Pros
- Walk-in growing for under $100
- Steel frame with built-in shelves
- Easy one-person setup
Cons
- Not built for heavy snow or strong wind
- PE cover wears out over time
How to choose a greenhouse
Glazing: polycarbonate vs glass vs film
Glazing is the see-through material that makes a greenhouse a greenhouse, and it’s the single most important decision. Polycarbonate is the default choice for home gardeners today: it’s shatter-resistant, lighter than glass, and available as single-wall (4mm clear, brightest light) or twin/multi-wall (8–10mm, far better insulation). Twin-wall polycarbonate has roughly double the R-value of single-pane glass, so it holds heat and diffuses light evenly, which plants love. Glass looks beautiful and transmits the most light, but it’s heavy, expensive, and breakable, better suited to permanent installations. Film (PE or PVC) is the cheapest and lightest option and goes up fast, but it tears, clouds, and wears out in a few seasons, making it best for budget builds and seasonal use.
Frame
Aluminum frames are rust-proof, light, and standard on quality polycarbonate kits; a powder-coated finish adds durability and looks better. Powder-coated steel is strong and common on film greenhouses but needs the coating intact to avoid rust. Whatever the material, look for a galvanized steel base, which anchors the whole structure and keeps the bottom edge off wet ground.
Size
The most common regret is buying too small. Plants, pots, benches, and a watering can fill a greenhouse faster than you’d think. If you’re torn between two sizes, size up; a 6′ x 8′ or 8′ x 8′ walk-in leaves room to actually work inside. If space or budget forces a mini, accept it as a seed-starting and overwintering tool rather than a place to grow to harvest.
Ventilation
A sealed greenhouse cooks plants on a sunny day, even in cool weather. You want at least a roof vent (ideally adjustable or automatic) plus a door or side vents to create cross-flow. Mesh screens keep pests out while letting air move. If your model lacks vents, plan to add an automatic vent opener or a small fan.
Anchoring
Almost every disappointing greenhouse review traces back to inadequate anchoring. A greenhouse is a sail. Hard-sided kits should be bolted to a level base, pad, or ground anchors; film tunnels need stakes and tie-down ropes at every corner and along the sides. Do this before the first storm, not after.
Climate
Match the structure to your weather. In hot, sunny regions, prioritize ventilation and consider single-wall or shaded glazing to avoid overheating. In cold, snowy regions, prioritize twin-wall polycarbonate (8–10mm), a roof pitch that sheds snow, and the option to add a heater. In windy, exposed sites, favor a hard-sided, well-anchored structure over film.
Once your greenhouse is up, the rest of the setup falls into place quickly. Stock it with the right gear from our guide to essential garden tools, use the protected space to get a jump on how to start a vegetable garden, and plan your trays around what to plant in spring.
Frequently asked questions
What size greenhouse should a beginner buy?
If you have the space, a 6′ x 8′ walk-in is the size most gardeners settle on, because it leaves room for benches and an aisle. If you’re testing the idea or short on space, start with an inexpensive mini or a small walk-in like the VIVOSUN, then upgrade once you know how you’ll use it. The most common mistake is buying too small and outgrowing it in one season.
Is polycarbonate or glass better for a greenhouse?
For most home gardeners, polycarbonate. It’s shatter-resistant, lighter, and twin-wall versions insulate far better than single-pane glass. Glass transmits slightly more light and looks more elegant, but it’s heavy, fragile, and pricier. Choose single-wall polycarbonate for maximum brightness or twin-wall (8–10mm) for cold-climate insulation.
Can you use a greenhouse in winter?
Yes, but it depends on the structure and your climate. A twin-wall polycarbonate greenhouse like the Palram Glory holds heat far better than film and can overwinter cold-hardy plants on its own. To grow warm-season crops through a hard winter, you’ll need supplemental heat, ideally a thermostatically controlled heater, plus good insulation and ventilation to manage condensation.
How do I keep my greenhouse from blowing over?
Anchor it properly before bad weather arrives. Bolt hard-sided kits to a level base, pad, or ground anchors, and stake film tunnels at every corner with tie-down ropes along the sides. Mini greenhouses must be tied to a wall or railing. Poor anchoring is the single biggest cause of greenhouse failure.
How long does a greenhouse take to assemble?
It varies widely. A mini shelf rack like the Ohuhu goes up tool-free in minutes, and a film walk-in takes an afternoon. Hard-sided polycarbonate kits such as the Palram Mythos or Snap & Grow typically take several hours and are much easier with two people; the Snap & Grow’s SmartLock system speeds things up compared with traditional bolt-together kits.