

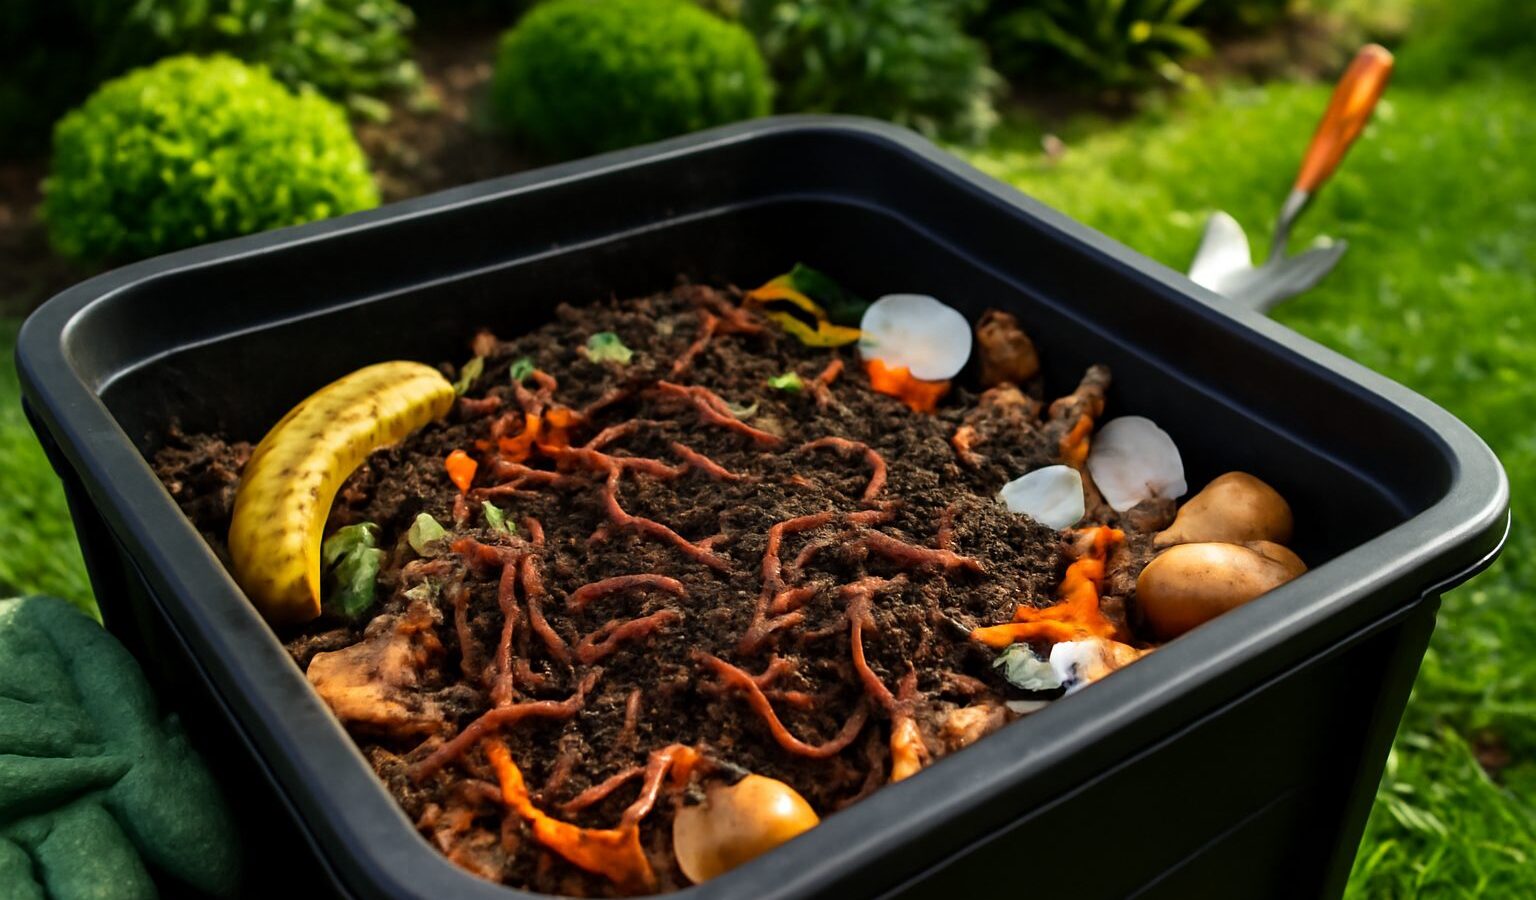
Vermicomposting is composting with worms, and it is the most apartment-friendly, low-effort way to turn kitchen scraps into the single best soil amendment a gardener can make: worm castings. A well-run bin lives quietly under a sink or on a balcony, produces no real smell, and rewards you with dark, crumbly, microbe-rich castings that supercharge container plants, seedlings, and garden beds. The catch is that a worm bin is a small living ecosystem, so the difference between a thriving bin and a stinking, fruit-fly-ridden mess comes down to a handful of basics: the right worms, the right bedding, the right moisture, and not overfeeding. This guide walks through setting up a bin from scratch, feeding it correctly, harvesting the finished castings, and troubleshooting the problems that trip up beginners.
Key Takeaways
- Use red wigglers (Eisenia fetida), not nightcrawlers, as they are surface feeders built for bin life.
- Bedding should be moist like a wrung-out sponge, never soggy, and fill most of the bin volume.
- Feed in small amounts and bury scraps; overfeeding is the number one cause of odor and pests.
- Start with about one pound of worms for a small household and let the population self-regulate.
- Harvest finished castings every 3 to 5 months once the bedding turns into dark, soil-like material.
Choosing Your Worms and Bin
Not all worms work. You want red wigglers (Eisenia fetida), occasionally sold as Indian blues or red worms. They are surface-dwelling, tolerate the warm, crowded, organic-rich conditions of a bin, and eat voraciously near the top where you add food. Common garden earthworms and Canadian nightcrawlers are burrowers that need deep, cool soil and will simply die or escape in a bin. Buy red wigglers online or from a local worm farmer; about one pound (roughly 1,000 worms) is right to start a small household bin.
For the bin itself, you have two paths. A simple DIY bin is a plastic storage tote, around 10 to 18 gallons, with a lid and about 20 small (1/8-inch) holes drilled around the upper sides and in the lid for airflow, plus a few drainage holes in the bottom set inside a shallow tray. Opaque totes are better than clear, since worms avoid light. The other path is a commercial stacking tray system, where worms migrate up through trays as they finish each level, which makes harvesting much easier. Either works; the tote is cheap and the tray system is convenient.
Step 1: Build the Bedding
Bedding is the worms’ habitat and most of what they eat. Fill the bin about three-quarters full with moist bedding made from one or a mix of these: shredded newspaper or plain cardboard (no glossy print), coconut coir, shredded brown leaves, or aged compost. Tear paper into strips so it stays fluffy and aerated. Moisten the bedding until it feels like a wrung-out sponge: damp throughout but not dripping when you squeeze a handful. This moisture level is the most important variable in the whole bin, so get it right at the start.
Add a handful of garden soil or finished compost to introduce grit (worms have no teeth and use grit to grind food) and beneficial microbes. Gently fluff everything so it is loose and airy, then add your worms on top. Leave the lid off under a light for the first hour or two; the worms will burrow down into the dark bedding rather than try to escape. Give them a few days to settle before the first feeding.
Step 2: Feed the Bin Correctly
Worms eat roughly their own weight over time, but a new bin’s population is small and slow, so start conservatively. Add a small amount of food once or twice a week, always burying it under the bedding in a different corner each time. Burying it prevents odor and fruit flies. A good rule is to add the next feeding only when the previous one is mostly gone.
Feed these
- Vegetable and fruit scraps and peels (chop them small so they break down faster)
- Coffee grounds and paper filters, tea leaves
- Crushed eggshells (also adds grit and buffers acidity)
- Stale bread and grains in small amounts
- More shredded paper and cardboard as ongoing bedding
Avoid these
- Meat, fish, dairy and oily or greasy foods (odor, pests)
- Citrus, onion and garlic in any quantity (too acidic and pungent)
- Pet waste and anything salty, spicy or heavily processed
Chopping or even briefly freezing then thawing scraps speeds breakdown by rupturing cell walls. Keep a small layer of dry bedding on top at all times as a cover blanket; it controls smell and discourages flies.
Step 3: Maintain the Bin
Keep the bin between about 55 and 80 degrees Fahrenheit; room temperature is ideal. Worms slow down in the cold and die in heat above the mid-80s, so keep the bin out of direct sun and away from freezing garages in winter. Check moisture weekly: if it is drying out, mist with water; if it is too wet, add fresh dry bedding to soak up the excess. Fluff the bedding occasionally to keep oxygen flowing. A healthy bin smells earthy, like a forest floor, not sour or rotten.
The liquid that may collect at the bottom, sometimes called leachate, is not the same as the prized “worm tea” and can contain anaerobic byproducts; drain it off and discard it or dilute it heavily for non-edible plants. The real reward is the solid castings.
Step 4: Harvest the Castings
After about 3 to 5 months, much of the bedding will have transformed into dark, crumbly, soil-like castings. Time to harvest. There are three common methods:
- Migration (dump-and-sort): Push all the contents to one side, add fresh bedding and food only to the empty side, and stop feeding the old side. Over two to three weeks the worms migrate to the fresh food, and you can scoop out nearly worm-free castings from the old side.
- Light sorting: Dump the bin contents into several cone-shaped piles on a tarp under a bright light. Worms flee downward from the light; scrape off the top of each pile every few minutes, and after a while you are left with worms balled at the bottom.
- Stacking trays: In a commercial system, worms migrate up to the newest tray on their own, leaving a finished tray of pure castings to lift off.
Use the harvested castings as a top-dressing (a half-inch around plants), mixed into potting soil at about 10 to 20 percent by volume, or steeped in water to brew an aerated compost tea. They are gentle and will not burn even seedlings, which makes them ideal for the kind of small-space and container growing covered across our Urban Gardening hub.
Troubleshooting Common Problems
Bad smell
A sour, rotten odor means anaerobic conditions, almost always from overfeeding or too much moisture. Stop feeding, add dry bedding, fluff for oxygen, and remove any rotting food. The smell clears within days.
Fruit flies or gnats
These breed on exposed food. Bury all scraps, keep a thick dry bedding cover on top, and avoid adding more food until the population crashes. A piece of damp newspaper or cardboard laid flat on the surface also helps.
Worms trying to escape
Mass escape attempts signal something is wrong: too wet, too acidic, too hot, or not enough air. Check moisture and temperature first. Newly added worms may roam for a day or two as they acclimate, which is normal; leaving a light on over the bin keeps them down.
Bin too wet or too acidic
Add dry bedding to absorb moisture. For acidity (often from too much fruit or coffee), add crushed eggshells or a small amount of agricultural lime, and cut back on acidic feeds. The presence of other small creatures like springtails, mites, and pot worms is normal and part of a healthy ecosystem; they are decomposers, not pests.
Once you have a rhythm, a worm bin practically runs itself and pairs naturally with other small-space techniques. If you are starting plants to feed those castings to, see our guides on starting seeds indoors, where a pinch of castings in the mix gives seedlings a gentle nutritional boost.
Frequently Asked Questions
What worms do I use for vermicomposting?
Red wigglers (Eisenia fetida). They are surface feeders adapted to the warm, crowded, food-rich conditions of a bin. Garden earthworms and nightcrawlers are deep burrowers that will not survive in a worm bin, so do not use them.
Does a worm bin smell bad?
A healthy bin smells earthy, like a forest floor, not unpleasant. Bad odor means something is off, usually overfeeding or excess moisture creating anaerobic conditions. Stop feeding, add dry bedding, and fluff for air, and the smell clears in a few days.
How often should I feed my worms?
Once or twice a week in small, buried amounts, adding more only when the previous feeding is mostly gone. A new bin with a small population needs little; overfeeding is the most common beginner mistake and causes odor and fruit flies.
How long until I get usable castings?
Typically 3 to 5 months for a new bin to convert most bedding into dark, crumbly castings, faster as the worm population grows. Harvest when the material looks like rich, uniform soil with little recognizable food or bedding left.
What can’t I put in a worm bin?
Avoid meat, fish, dairy, oily and greasy foods, citrus, onion, garlic, pet waste, and anything salty or spicy. These cause odor, attract pests, or harm the worms. Stick to vegetable and fruit scraps, coffee grounds, eggshells, and shredded paper.