

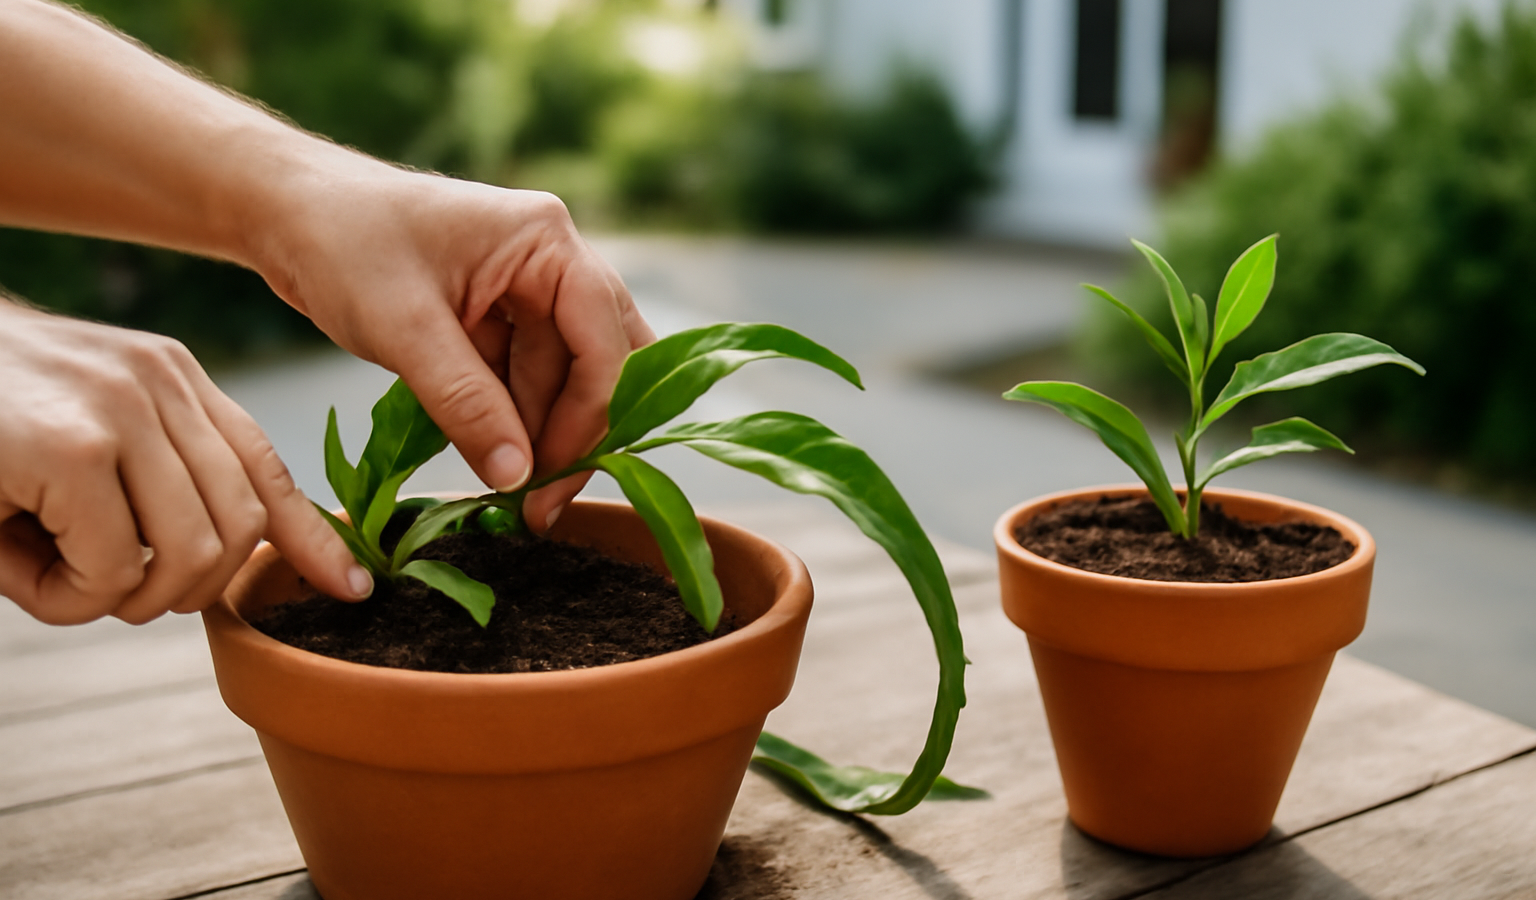
If you have ever tried to root cuttings on a windowsill and watched half of them rot or shrivel before they could put out a single root, layering is going to feel like cheating. Instead of cutting a stem off the parent plant and asking that orphaned piece to survive on its own, you root the stem while it is still attached. The parent keeps feeding it water and sugars the entire time, so the new plant never goes through the desperate scramble that kills so many cuttings. There is no propagator, no misting bench, no humidity dome, no daily fussing. You bend a branch into the dirt, pin it down, and let nature handle the rest over a season. For a long list of shrubs, climbers, and cane fruits, this is the most reliable propagation method there is, and it costs nothing but a bit of patience and a length of wire.
Key Takeaways
- Layering roots a stem into the soil while it stays attached to the parent, so the parent feeds it until roots form. It is nearly foolproof and needs no humidity gear.
- Best done in spring or early autumn on flexible, low-growing stems that can reach the ground.
- Simple layering: wound a low branch 9 to 12 inches from the tip, bend it into a 3 to 4 inch trench, pin it down, cover with soil, and keep the tip exposed and staked upright.
- Tip layering suits brambles like blackberry and raspberry. Bury the arching shoot tip 2 to 4 inches deep in late summer and it roots and sends up a new shoot.
- Rhododendron, azalea, magnolia, viburnum, forsythia, clematis, honeysuckle, jasmine, and strawberries all layer readily. If the stems will not reach the ground, use air layering instead.
What Layering Actually Is
Layering is the practice of getting a section of stem to grow roots while it remains connected to the mother plant. You take a flexible stem, encourage it to make contact with the soil, wound it slightly to trigger rooting, and then bury that portion. Because the stem is never detached, the parent’s root system keeps pumping moisture and nutrients into it through the connecting wood. The buried section is under no pressure to fend for itself. It can take weeks or months to form its own roots, and during that whole stretch it stays plump and alive instead of slowly drying out the way an unrooted cutting does.
This is not some obscure horticultural trick. Plants do it on their own all the time. A strawberry sends out runners that touch down, root, and become new plants. A bramble cane arches over, its tip hits the dirt, and by next season there is a whole new bush where the tip landed. Layering is simply us giving that natural tendency a deliberate nudge and a tidy outcome. You are working with the plant’s own habits rather than against them, which is exactly why the success rate is so high compared to other methods.
The wound is the key that unlocks rooting. When you nick or scrape the underside of the stem, you interrupt the downward flow of sugars and growth hormones. Those compounds pile up at the wound site, and the plant responds by pushing out roots right there. Bury that wounded section in moist soil and you have created a perfect little rooting chamber, fed from above by the parent and surrounded below by everything roots need.
Why Layering Beats Cuttings for Many Plants
Cuttings are still the right call when you want a lot of plants or when you are propagating something that roots easily, and our guides on taking softwood cuttings and taking hardwood cuttings walk through those methods in detail. But for difficult subjects, layering wins on reliability for a few concrete reasons.
First, there is no race against death. A cutting has a fixed reserve of water and starch in its tissue. If it does not root before that runs out, it dies. A layer has no such clock because the parent keeps it supplied. Second, you need zero equipment. Forget the heated propagator, the rooting trays, the plastic tents, and the watchful daily misting. The ground and the weather do the work. Third, the success rate on stubborn woody plants is far higher. Some shrubs that sulk and rot as cuttings will layer almost every time. Finally, a layer gives you a substantial, well-established plant. By the time you sever it, you are lifting something with a real root system and a season of top growth, not a fragile rooted twig.
The trade-off is volume and pace. One stem usually gives you one new plant, and you wait a full growing season rather than a few weeks. If you need a dozen identical shrubs in a hurry, cuttings or division are faster. If you want one or two guaranteed new plants of something precious or hard to root, layering is the safe bet.
When to Layer
Timing is forgiving but it matters. The two windows are spring, just as growth is getting going, and early autumn, while the soil is still warm but the heat of summer has broken. Spring layers have the whole growing season ahead of them to root before you lift them, which is usually the strongest option for woody shrubs and climbers. Early autumn layers settle in over winter and surge ahead the following spring.
What you are really looking for is a flexible, healthy, low-growing stem from the current or previous season. Old, stiff, thick branches will not bend to the ground without snapping, and they root poorly anyway. Young, whippy growth near the base of the plant is your prize. Avoid layering in the dead of summer when the soil bakes and dries, or in hard winter when nothing is rooting. Tip layering of brambles is the one exception to the timing rule, and that happens in late summer, which we will get to below.
Simple Layering, Step by Step
Simple layering is the foundational method and the one most shrubs and climbers respond to. The whole operation takes about ten minutes per stem, and the plant does the rest over the following months. Here is the full sequence.
- Pick a flexible, low-growing branch that will comfortably reach the ground when you bend it down. It should arch to the soil without straining or cracking. Stems from the lower, outer part of the plant are ideal because they reach the ground easily and are young enough to root well.
- About 9 to 12 inches back from the growing tip, wound the underside of the stem. Either nick it with a clean knife by cutting a small tongue partway through the wood at a slant, or scrape away a sliver of bark about half an inch to an inch long all the way around or along the underside. This is where roots will form. If you like, dust the cut surface with rooting hormone to speed things along, though many easy subjects do not need it.
- Dig a shallow trench, 3 to 4 inches deep, directly under where the wounded section will sit. Loosen the soil and, if your ground is heavy clay, work in some grit or compost so the new roots have something friable to grow into.
- Bend the stem down so the wounded part rests in the bottom of the trench, then pin it firmly in place. A U-shaped piece of stiff wire, a bent tent peg, or a forked twig all work. A heavy stone laid over the spot does the same job if you have nothing else. The point is to hold the wound in solid contact with the soil so it cannot lift or shift.
- Cover the pinned section with soil and firm it down gently, but leave the growing tip of the branch sticking out above the surface. Bend that exposed tip upright and tie it loosely to a short stake or cane so it grows vertically. This upright kink at the buried wound encourages rooting and gives you a tidy, straight young plant.
- Keep the area consistently moist for the whole rooting period. Do not let it dry out, especially in summer. The buried section needs damp soil around it to root, and a dried-out trench will stall the whole process. A mulch over the spot helps hold moisture.
- Leave it alone and let roots form over a full season. Resist the urge to dig around and check. When the layer has had its season, usually by the following autumn or spring, gently scrape back the soil to confirm a healthy root system has developed at the wound.
Once you can see a solid clump of roots, sever the new plant from the parent by cutting the connecting stem on the parent’s side of the roots. Many gardeners do this in two stages a few weeks apart, partially cutting through first to let the layer adjust to living on its own roots before the final cut. Then lift the rooted plant carefully with as much root and soil as you can, and transplant it to its new home or pot it up. Aim to sever and move layers in autumn or early spring, never in the heat of summer.
Serpentine and Mound Layering Variations
Two close relatives of simple layering are worth knowing. Serpentine layering, sometimes called compound layering, is the same idea applied to a long, flexible stem like a clematis or honeysuckle. Instead of burying one section, you snake the stem in and out of the soil along its length, wounding and burying it at several points while leaving leafy sections exposed between them. Each buried point roots and becomes its own plant, so one long shoot can give you several new plants at once.
Mound layering, also called stooling, works for plants with stiff stems that will not bend down, such as rootstocks for fruit trees and some heavy shrubs. You cut the plant back hard in winter, and as the new shoots emerge in spring you heap soil up around their bases. The buried portions root, and the following winter you scrape the mound away and detach the rooted shoots. It is a nursery technique more than a backyard one, but it is the same wound-and-bury principle scaled to upright growth.
Tip Layering for Brambles and Cane Fruit
Tip layering is the method tailored to cane fruits, the plants that throw long, arching shoots that naturally want to touch down at the tips. Blackberries, raspberries, dewberries, and the trailing and hybrid berries all propagate this way, and it could not be simpler because the plant is practically begging to do it. The trick with tip layering is that you bury the very tip of the shoot, not a section back from it, and the timing is late summer rather than spring or early autumn.
- In late summer, find a long, vigorous current-season cane that is arching over toward the ground. The tip should reach the soil naturally or nearly so.
- Dig a small hole 2 to 4 inches deep where the tip lands. A hole with a steep back wall and a sloping front helps direct the tip downward.
- Bury the last few inches of the shoot tip in the hole and firm the soil over it. There is no need to wound the tip first; the soft growing point roots readily on its own. Pin it if it tries to spring back out.
- Keep it watered through the rest of late summer and autumn. The buried tip roots quickly and then sends up a new vertical shoot from the point where it rooted.
- Leave it through winter. In spring, once the new plant is clearly growing on its own roots, sever the cane connecting it to the parent and lift the rooted youngster for transplanting.
Tip layering is fast and almost guaranteed with brambles. A single healthy blackberry plant can give you a row of new plants in one season if you peg down several arching canes. Just keep on top of it, because if you do not bury the tips deliberately the plant will root them wherever they happen to land and you will end up with a thicket spreading where you did not want it.
Which Plants Layer Well
Layering suits any plant with stems flexible enough to reach the ground and a willingness to root from wounded wood. That covers a generous range of garden favorites.
Among shrubs, the classic candidates are rhododendron and azalea, both of which can be slow and frustrating from cuttings but layer beautifully. Magnolia, viburnum, and forsythia are reliable too, along with witch hazel, lilac, and smoke bush. Many of these have naturally low, spreading branches that practically ask to be pinned down.
Climbers are some of the easiest subjects of all because their long, pliable stems take to serpentine layering so readily. Clematis, honeysuckle, jasmine, wisteria, and climbing hydrangea all layer well. Strawberries deserve a special mention: their runners are layering done automatically, so all you do is pin the plantlets into pots of soil and snip them free once rooted. Brambles, as covered above, are the tip-layering champions. Even some trees, like hazel and certain magnolias, will layer if you have a low enough branch to work with.
For a broader sense of how layering fits alongside the other ways to expand your plants for free, the outdoor living hub collects the full set of propagation guides in one place.
When the Stems Will Not Reach: Air Layering
Ground layering only works if you have a stem flexible and low enough to bend to the soil. Plenty of plants do not give you that, whether it is a tall single-stemmed shrub, a leggy houseplant, or a tree with all its growth up high. For those, the same principle is applied in mid-air. You wound a stem at the height where you want roots, wrap the wound in a ball of damp moss, seal it in plastic to hold the moisture, and let roots form right there on the standing stem. When they fill the moss, you cut below the new roots and pot up the top.
It is the exact same idea as ground layering, just lifted off the ground, and it opens up everything that simple layering cannot reach. If your plant will not bend down, head straight to our full walkthrough on how to air layer a plant, which covers the wrapping technique and timing step by step. Between the two methods, ground layering for anything you can bend and air layering for anything you cannot, there are very few woody plants you cannot propagate this way.
Frequently Asked Questions
How long does it take for a layer to root?
Most simple layers need a full growing season. A stem layered in spring is usually ready to sever the following autumn or the spring after that. Tip-layered brambles are faster, rooting within a couple of months over late summer and ready to lift the next spring. Always check for a solid root system before you cut the layer free.
Do I have to use rooting hormone?
No. Easy subjects like brambles, strawberries, forsythia, and most climbers root fine without it. Rooting hormone helps with slower, woodier plants such as magnolia or rhododendron, where a dusting on the fresh wound can improve your odds. For most backyard layering it is optional, not essential.
Why do I wound the stem before burying it?
The wound interrupts the flow of sugars and growth hormones down the stem, causing them to accumulate at the cut. The plant responds by producing roots at that point. Wounding also lets soil moisture reach the inner tissue. Skip it and your layer may root slowly or not at all on woody plants, though soft bramble tips root without wounding.
Can I layer the same parent plant every year?
Yes, as long as the parent stays healthy and produces fresh flexible stems low enough to reach the ground. Layering takes very little from the parent because you only remove the new plant once it has its own roots. Rotate which stems you use so you are not repeatedly stressing the same part of the plant.
What if my plant has no branches that reach the ground?
Then ground layering will not work and you should use air layering instead. You apply the same wound-and-moisture principle to a stem up in the air by wrapping the wound in damp moss and plastic. It suits tall shrubs, houseplants, and trees whose growth is all out of reach of the soil.