

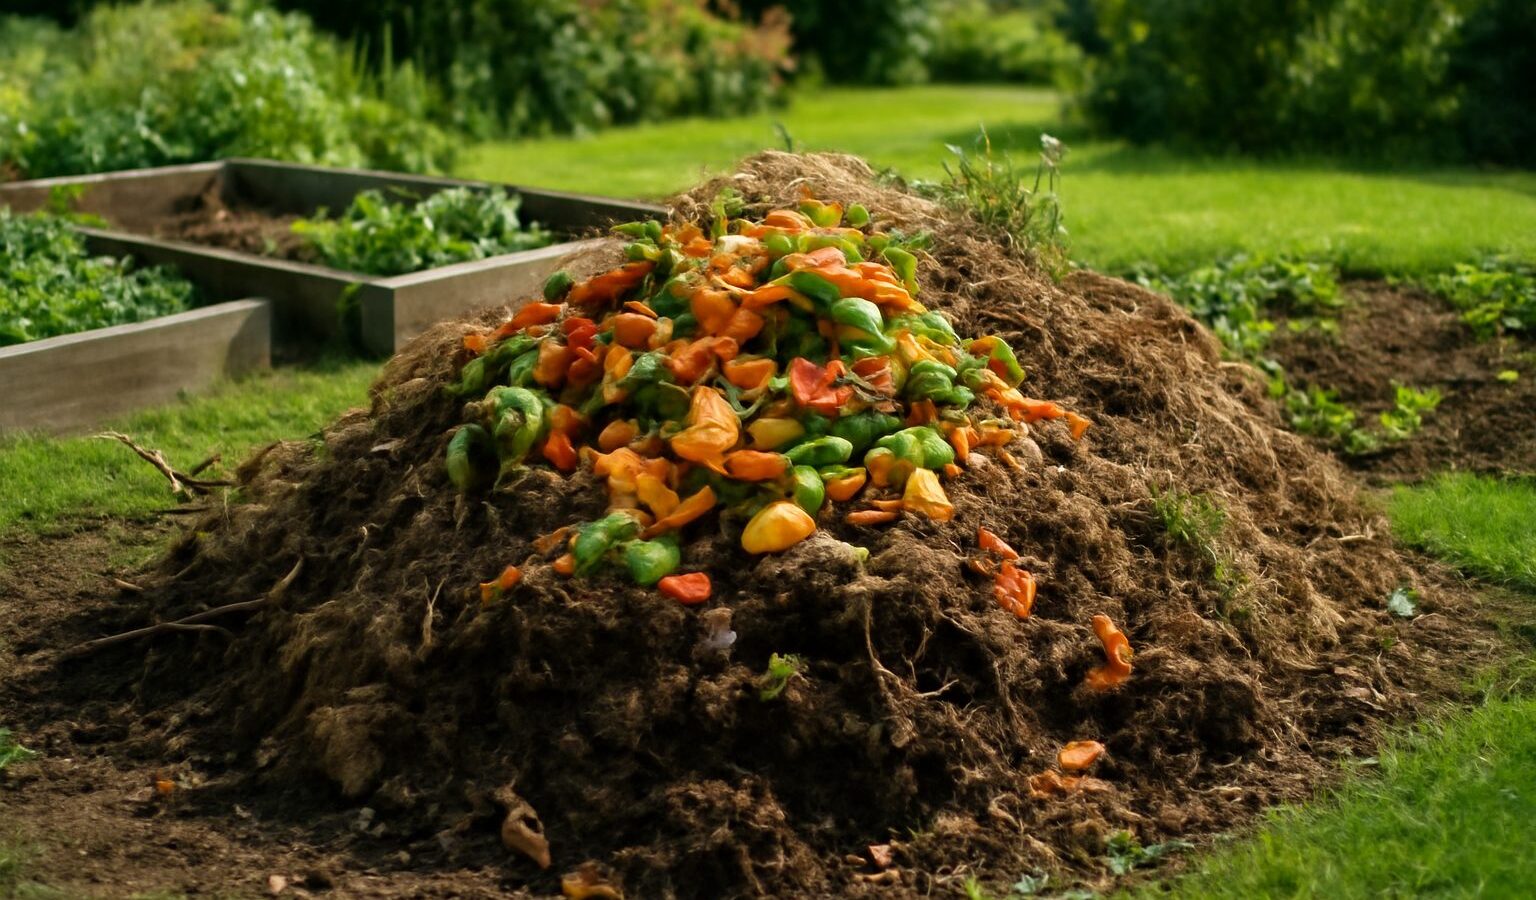
Compost is the single best amendment you can add to any garden, and it is free. It turns kitchen scraps, fallen leaves, and grass clippings into a dark, crumbly, sweet-smelling material that improves soil structure, feeds microbes, holds moisture, and slowly releases nutrients to your plants. Making it well is not complicated, but it does follow rules — the right balance of materials, enough air, the right moisture, and a pile big enough to hold heat. Get those four factors right and compost happens almost on its own. This guide covers everything a beginner needs to build a pile that breaks down fast and never smells.
Key Takeaways
- Aim for roughly 2–3 parts “browns” (carbon) to 1 part “greens” (nitrogen) by volume.
- Build the pile at least 3 ft × 3 ft × 3 ft so it holds enough mass to heat up.
- Keep it as damp as a wrung-out sponge — moist but never soggy.
- Turn a hot pile every 5–7 days to add oxygen and speed decomposition.
- Hot composting finishes in 1–3 months; cold (no turning) takes 6–12 months.
- A bad smell almost always means too much nitrogen or too little air — add browns and turn it.
The Two Ingredients: Greens and Browns
Every compost recipe comes down to balancing two categories of material. Greens are high in nitrogen and tend to be moist and fresh. Browns are high in carbon and tend to be dry and woody. The microbes that do the actual decomposing need both: nitrogen to build their bodies and carbon for energy. The ideal carbon-to-nitrogen ratio for a fast pile is about 25–30 parts carbon to 1 part nitrogen, which in practice means layering roughly two to three parts browns to one part greens by volume.
Greens (nitrogen)
- Vegetable and fruit scraps
- Fresh grass clippings
- Coffee grounds and tea leaves
- Green garden trimmings and spent plants
- Eggshells (technically neutral, but go in the greens pile)
- Manure from chickens, cows, horses, or rabbits
Browns (carbon)
- Dry autumn leaves
- Shredded cardboard and uncoated paper
- Straw and dried hay
- Wood chips and sawdust (untreated)
- Pine needles and small twigs
- Shredded newspaper
Never compost these
- Meat, fish, bones, and dairy — they attract pests and turn rancid
- Greasy or oily food
- Pet waste from dogs and cats (pathogen risk)
- Diseased plants and weeds gone to seed
- Glossy or coated paper, and anything treated with pesticides
Size and Setup: Build It Big Enough to Cook
Pile size matters more than beginners expect. A heap needs a minimum of one cubic yard — 3 feet wide, 3 feet deep, and 3 feet tall — to retain the heat its own microbial activity generates. Smaller piles lose heat to the surrounding air faster than they can build it, so they break down slowly and never reach the 130–160°F that kills weed seeds and pathogens. There is also an upper limit: piles much taller than 5 feet compress under their own weight, squeezing out the air, so keep height between 3 and 5 feet.
Choose a level, well-drained spot in partial shade. Full sun dries the pile out; deep shade keeps it too cool and damp. Place it directly on bare soil rather than concrete so earthworms and microbes can migrate up into the heap. You can compost in an open free-standing pile, a three-bin wooden system, a wire or pallet enclosure, or an enclosed plastic bin. Open piles are easiest to turn; enclosed bins look tidier and retain heat and moisture better in cold or dry climates.
How to Build the Pile, Layer by Layer
You can build a pile all at once if you have the materials, or add to it over time. An all-at-once build heats up fastest because the whole mass starts decomposing together. Follow this layering sequence:
- Base layer: Start with 4–6 inches of coarse browns — twigs, straw, or wood chips — directly on the soil. This creates an air channel and improves drainage at the bottom.
- Browns layer: Add a 4-inch layer of dry browns such as leaves or shredded cardboard.
- Greens layer: Add a 2-inch layer of greens — scraps, clippings, or manure.
- Activator (optional): Sprinkle a thin layer of finished compost or garden soil to introduce microbes.
- Water: Lightly moisten each layer as you go so the whole pile reaches sponge-damp.
- Repeat: Continue alternating browns and greens (roughly 2:1) until the pile is 3–5 feet tall, finishing with a brown layer on top to control odor and flies.
Chop or shred larger materials first. A whole branch takes years to break down; the same branch run through a chipper breaks down in weeks because shredding multiplies the surface area microbes can attack. The same logic applies to kitchen scraps — cut large items into pieces smaller than 2 inches.
Moisture and Air: The Two Things People Get Wrong
Compost microbes need water to live and oxygen to breathe. The target moisture is that of a wrung-out sponge: squeeze a handful and you should feel dampness but get only a drop or two of water. If the pile is dry and dusty, decomposition stalls; water it as you turn. If it is dripping and matted, it has gone anaerobic — that is the source of the rotten-egg smell — and you need to add dry browns and turn it to introduce air.
Turning is how you oxygenate the pile. Use a garden fork or a compost aerator to lift material from the outside into the center and break up clumps. For a hot, fast pile, turn every 5–7 days. Each turn injects oxygen, redistributes moisture, and moves cooler outer material into the hot core. You will often see steam rise from the center on a cold morning — that is the pile working exactly as it should.
Hot Composting vs Cold Composting
Hot composting
Hot (active) composting maximizes speed. Build a full one-cubic-yard pile at the right ratio, keep it sponge-damp, and turn it every 5–7 days. The core will climb to 130–160°F within days. At those temperatures the pile finishes in roughly 1–3 months, and the sustained heat kills most weed seeds and plant pathogens. Monitor the temperature with a long-stemmed compost thermometer; when the center cools below about 110°F and no longer reheats after turning, the pile is finishing.
Cold composting
Cold (passive) composting is the lazy gardener’s route: pile materials as you generate them and let nature take its time. There is no turning and no temperature management, so it takes 6–12 months and will not kill weed seeds or pathogens. It is the right choice if you have a steady trickle of scraps and no rush. Just keep covering fresh greens with a layer of browns to control odor and flies.
Troubleshooting Common Problems
- Smells like rotten eggs or ammonia: Too wet, too much nitrogen, or not enough air. Add dry browns and turn the pile thoroughly.
- Pile won’t heat up: Too small, too dry, or not enough greens. Add fresh greens and water, and make sure the heap is at least a cubic yard.
- Pile heats then quickly cools and stays cold: It has run out of nitrogen or moisture. Turn it, add greens, and re-wet.
- Attracting flies or rodents: Food scraps are exposed on the surface, or you added meat/dairy. Bury greens in the center and top with browns.
- Damp but slow with a sour smell: Compacted and airless. Turn it and mix in coarse browns to create air pockets.
- Lots of whole, undecomposed pieces: Materials were too big. Chop or shred before adding, and turn to mix.
How to Know It’s Finished — and How to Use It
Finished compost is dark brown to black, crumbly, and smells like rich forest earth, not like the scraps that went in. The original ingredients should be unrecognizable, the pile should have shrunk to about a third of its starting volume, and it should no longer reheat after turning. If you can still pick out leaf shapes or food chunks, give it a few more weeks to cure. Curing — letting a finished pile sit unturned for 2–4 weeks — stabilizes it and lets the last of the decomposition finish.
Use it generously. Spread a 1- to 2-inch layer over garden beds and work it into the top few inches of soil, side-dress vegetables mid-season, mix it into potting blends, or steep it into compost tea. Heavy clay soils benefit hugely from annual compost additions — see our guide to improving clay soil for the full amendment plan. Compost is also a core ingredient in a great raised bed soil mix, and homemade compost folds perfectly into the layered beds described in lasagna gardening.
Frequently Asked Questions
How long does it take to make compost?
A hot pile that is the right size, kept damp, and turned every 5–7 days finishes in about 1–3 months. A cold pile that you never turn takes 6–12 months. Speed depends mostly on pile size, moisture, the greens-to-browns balance, and how often you turn it.
What is the ideal ratio of greens to browns?
Aim for roughly 2–3 parts browns (carbon-rich, like dry leaves and cardboard) to 1 part greens (nitrogen-rich, like scraps and clippings) by volume. This delivers the carbon-to-nitrogen balance of about 25–30:1 that microbes need to break material down quickly without smelling.
Why does my compost smell bad?
A foul, rotten-egg or ammonia smell means the pile is too wet, has too much nitrogen, or lacks oxygen and has gone anaerobic. Fix it by adding dry browns to soak up excess moisture and turning the pile thoroughly to introduce air.
Can I compost in winter?
Yes. Decomposition slows or stalls in freezing weather, but the pile resumes as it thaws. Keep adding materials through winter, insulate the heap with extra browns or a tarp, and build it as large as possible so the core retains heat longer.
Do I need a compost bin or can I just make a pile?
An open pile works perfectly well and is the easiest to turn. A bin or enclosure looks tidier, retains heat and moisture in cold or dry climates, and helps keep pests out. Either way, the rules — size, ratio, moisture, and air — are the same.