

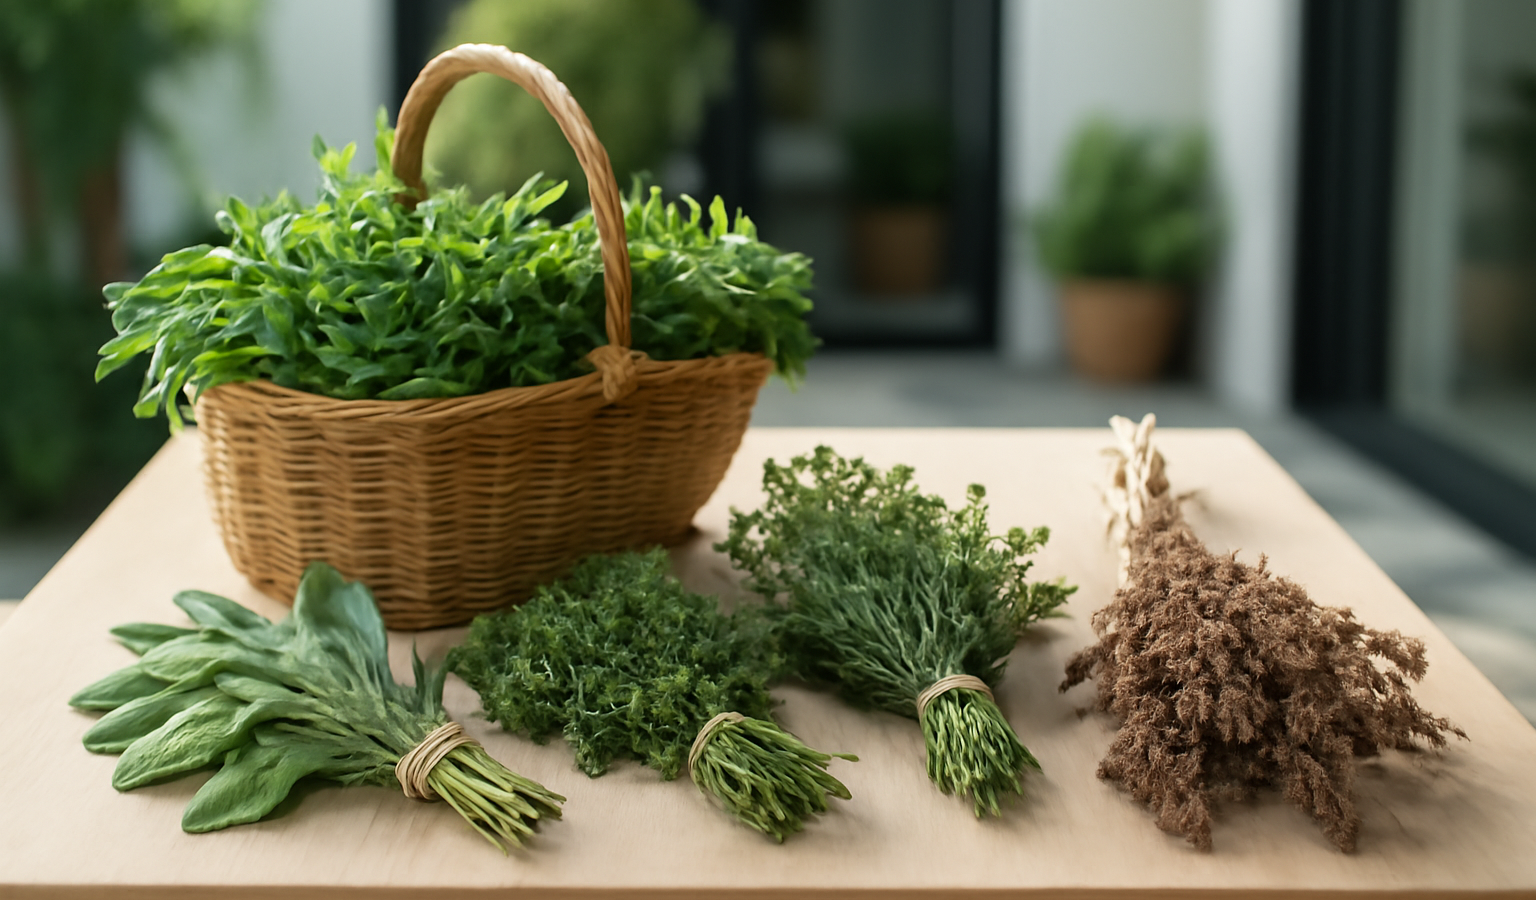
There is a particular satisfaction in pulling a jar of your own dried oregano off the shelf in January, twisting off the lid, and being met with a green, peppery aroma that no grocery-store tin can match. Drying herbs is one of the oldest and simplest forms of food preservation, and it costs you almost nothing but a little timing and patience. The trouble is that most people get the timing wrong, dry too much at once, or store the results in a way that turns all that effort into dusty, flavorless flakes within a few months. Get the details right, though, and a single afternoon of harvesting can stock your spice rack for a year or more. This guide walks through exactly when to cut, which herbs reward drying and which you should freeze instead, three reliable drying methods in detail, and how to store the finished product so it actually tastes like something.
Key Takeaways
- Harvest in mid-morning, after the dew has dried but before the day’s heat, and cut just before the plant flowers for the strongest essential oils.
- Never take more than one-third of a plant at a time so it can recover and keep producing.
- Woody herbs like oregano, thyme, sage, rosemary, and bay dry beautifully; tender herbs like basil, cilantro, chives, and parsley lose flavor when dried and are better frozen.
- Air drying is the gentlest method (1–2 weeks); the oven (170–180°F or lower, door cracked) and a dehydrator (95–115°F) are faster but need watching.
- Herbs are done when leaves are brittle and crumble easily; store whole leaves in airtight glass jars in a cool, dark spot, and they will keep 1–3 years.
When to Harvest for the Best Flavor
Flavor in herbs comes from volatile essential oils, and the concentration of those oils swings dramatically with the time of day and the plant’s growth stage. The single most important rule is to harvest in the morning, after the dew has fully dried off the leaves but before the sun climbs high and the heat of the day begins to evaporate the oils. On a typical summer morning that window falls somewhere between about 9 and 11 a.m. Cutting while leaves are still wet with dew invites mold during drying; cutting in the hot afternoon means you have already lost some of the aromatic punch to the air.
The growth stage matters just as much. Essential oils peak right before a plant flowers, when all of its energy is concentrated in the foliage rather than in blooms and seeds. Once a plant bolts and puts up flower stalks, leaf flavor turns flat and sometimes bitter. Watch for fat flower buds forming and cut your main harvest just before they open. As a bonus, regular harvesting before flowering keeps plants like basil and oregano bushy and productive for longer.
Be disciplined about how much you take. As a general rule, never remove more than one-third of a plant in a single harvest. The remaining two-thirds keeps the roots fed and lets the plant bounce back within a week or two, which means you can harvest the same plant several times over a season instead of stripping it bare once. Use clean, sharp scissors or pruners and cut just above a leaf node or a pair of leaves; the plant will branch out from that point. For leafy herbs, snip whole stems a few inches long rather than picking individual leaves—it is faster and the stems make air drying far easier.
Which Herbs Dry Well—and Which Don’t
Not every herb is a good candidate for drying. The rule of thumb is that sturdy, low-moisture, woody-stemmed herbs dry well and hold their flavor, while soft, high-moisture, tender herbs tend to fade to a pale shadow of themselves. Knowing the difference saves you from wasting effort on herbs that would be far better preserved another way.
These herbs dry reliably and keep their character:
- Oregano – arguably the best drier of all; many cooks find dried oregano more potent than fresh.
- Thyme – dries quickly and the tiny leaves strip easily off the stem once crisp.
- Sage – the thick leaves hold their savory, slightly peppery flavor well.
- Rosemary – needle-like leaves are practically built for drying.
- Mint – dries well for teas and holds a clean aroma if kept whole.
- Dill – both the feathery leaves (dill weed) and the seeds dry nicely.
- Bay – leathery bay leaves are almost always used dried; they actually mellow into a rounder flavor.
These tender herbs lose most of their flavor when dried and are far better frozen:
- Basil – dried basil tastes like dusty hay compared with the fresh leaf; freeze it in oil or as pesto instead.
- Cilantro – loses its bright citrus note almost entirely when dried.
- Chives – turn grassy and weak; freezing keeps their oniony bite.
- Parsley – dries to a flat green confetti with little flavor.
For the tender group, the easiest preservation trick is to chop the leaves, pack them into ice-cube trays, cover with water or olive oil, and freeze. Pop the cubes into a freezer bag and drop one straight into a pot of soup or sauce. If you are preserving more than just herbs this season, the same patience and labeling habits carry over nicely to saving seeds from your favorite plants for next year’s garden.
Preparing Herbs Before Drying
A little prep goes a long way. Once you have your stems indoors, inspect them and discard any leaves that are yellowed, bruised, or showing signs of disease. If the plants are dusty or you have noticed insects, give the stems a gentle swish in cool water, then shake off the excess and pat them dry thoroughly with a clean towel or spin them in a salad spinner. Any lingering surface moisture slows drying and raises the risk of mold, so do not skip the drying step. If your herbs are clean and unsprayed, you can often skip washing entirely—less handling means fewer bruised, oil-leaking leaves.
Leave the leaves on the stems for now. Whole stems are easier to bundle for air drying, and stripping leaves off is far simpler once they are dry and brittle—you can run your fingers down a crisp thyme or oregano stem and the leaves fall off in a heap. Stripping before drying just creates extra handling and bruising.
Method 1: Air Drying (Hanging Bundles)
Air drying is the time-honored method, and for good reason: it requires no energy, no special equipment, and it treats the herbs the most gently, which best preserves their oils. It is the ideal choice for the sturdy, low-moisture herbs—oregano, thyme, sage, rosemary, and mint all hang-dry wonderfully.
Gather the stems into small bundles, no thicker than about an inch at the cut end. Resist the urge to make fat bundles; air needs to circulate through the center, and a dense clump will trap moisture and mold from the inside out. Tie each bundle with twine or a rubber band—a rubber band is handy because the stems shrink as they dry and string can slip loose. Hang the bundles upside down so the oils settle into the leaves.
The location matters: choose a spot that is warm, dry, dark, and airy. A pantry, a closet, an attic, or a shaded corner of a covered porch all work well. Darkness preserves color and flavor, since sunlight bleaches the leaves and degrades their oils. Good air movement prevents mold. If dust or seed-shedding is a concern, slip each bundle into a brown paper bag with several holes punched in the sides for ventilation, tie the bag around the stems, and hang it the same way. The bag catches any falling leaves or seeds and keeps light off the herbs.
Expect air drying to take roughly 1 to 2 weeks, depending on the herb and your home’s humidity. Thin-leaved thyme may be ready in a week; thicker sage or mint can take the full two. Check periodically by feeling a leaf—you are waiting for fully brittle, crumbly foliage.
For herbs with small leaves or seeds, or if you simply do not have a place to hang bundles, screen or rack drying is an excellent alternative. Spread the leaves or short sprigs in a single layer on a clean window screen, a mesh drying rack, or a baking sheet lined with parchment, and set it in the same kind of warm, dry, dark, airy spot. Turn the herbs every day or two so they dry evenly. This flat method is perfect for dill, individual sage leaves, and bay leaves.
Method 2: Oven Drying
When you want results in hours rather than weeks, the oven is the obvious tool—but it demands attention, because oven heat is far more aggressive than open air and herbs can scorch quickly. Set your oven to its lowest possible setting. On many ovens that is around 170 to 180°F; if yours can go lower, even better, since temperatures below 100°F protect the most oils. Crucially, prop the oven door open a few inches with a wooden spoon. This lets moisture escape and keeps the actual temperature around the herbs lower than the dial suggests, which is exactly what you want.
Strip the leaves from the stems for tender or large-leaf herbs, or leave small-leaf herbs on the stem, and spread everything in a single layer on a parchment-lined baking sheet—no overlapping. Slide the sheet in and check it often. Drying usually takes 2 to 4 hours, but it can be much faster for delicate leaves, so do not wander off and forget about it. Rotate the pan and stir the herbs every 30 minutes or so for even drying. The moment the leaves are crisp and crumble between your fingers, pull them out. Oven-dried herbs are easy to over-toast, and once they brown they taste bitter, so err on the side of checking too often.
Method 3: Using a Food Dehydrator
A dehydrator is the most controllable and consistent option, and if you preserve food regularly it is worth owning. It moves warm air gently and evenly across the herbs at a low, steady temperature, which protects flavor better than an oven and works faster than air drying. Set the dehydrator to 95 to 115°F for delicate herbs—the lower end of that range for the most fragile leaves like mint, the higher end for tougher ones like rosemary and bay.
Arrange the leaves or sprigs in a single layer on the trays so no pieces overlap, leaving room for air to flow. Depending on the herb and its moisture content, drying takes anywhere from 1 to 4 hours. Start checking at the one-hour mark for thin leaves like thyme and dill, and give thicker, juicier herbs the full stretch. As with every method, the test for doneness is the same: the leaves should be brittle and crumble at a touch. Because the temperature is so gentle and controlled, dehydrators give you the best color retention of any fast method.
The Microwave Method (In a Pinch)
For a tiny batch when you have no time, the microwave can work, though it offers the least control and is easy to ruin. Place a single layer of clean, dry leaves between two paper towels and microwave in short 30-second bursts on a medium or low power setting, checking after each burst. Most herbs take 1 to 3 minutes total. Watch closely—herbs go from limp to crisp to scorched in seconds, and dried herbs can even catch fire if left too long. Treat this as a last resort rather than a routine method.
How to Tell When Herbs Are Fully Dry
The test is the same no matter which method you used, and it is simple: properly dried herbs are completely brittle and crumbly. Pick up a leaf and try to fold it. If it bends or feels at all leathery, soft, or cool to the touch, there is still moisture inside and it needs more time. If it snaps and crumbles into bits when you rub it between your fingers, it is done. Stems should break cleanly rather than bending. Any leftover moisture is the enemy here—sealing herbs that are not fully dry is the number-one cause of moldy, ruined jars, so when in doubt, give them another day.
Stripping, Storing, and Keeping Flavor
Once your herbs are crisp, stripping the leaves from the stems is the easy part. Hold a stem at the top and run your fingers firmly down it against the direction of growth; the brittle leaves will pop off into a bowl below. For tiny-leaved herbs like thyme, this takes seconds. Discard the woody stems (or save rosemary and thyme stems to toss on the grill or into a stockpot).
Here is the single most important storage principle: store herbs as whole leaves, not crushed or ground. Whole leaves keep their volatile oils sealed inside their cell structure, and that intact form preserves flavor far longer. Only crush or grind the herb right before you cook with it, when you can release the aroma into the dish. Crushing everything up front looks tidy but trades away months of shelf life.
Pack the whole dried leaves into clean, completely dry, airtight glass jars—small canning jars or recycled spice jars are perfect. Glass is preferable to plastic, which can absorb and hold odors over time. Fill jars without crushing the contents down. Then store the jars somewhere cool, dark, and dry: a closed cupboard or pantry away from the stove is ideal. Heat, light, and humidity are what degrade dried herbs, so the cabinet right above your range—tempting as it is—is actually the worst place to keep them.
Always label and date each jar. Dried herbs all start to look alike, and you will want to know what you have and how old it is. Most properly dried and stored herbs keep their flavor for 1 to 3 years, with sturdy leaf herbs like oregano and bay on the longer end. They rarely go bad in the unsafe sense, but flavor fades, so plan to use and replace them within that window.
One final habit makes all the difference: for the first 1 to 2 weeks after jarring, check your jars for any sign of moisture or mold. Look for condensation, fogging, or beads of water on the inside of the glass, which mean the herbs were not quite dry enough. If you see any, tip the herbs back out and dry them further before resealing—catching it early saves the whole batch. If a jar ever shows fuzzy mold, discard the contents entirely. With those checks passed, your herbs are set for the season. If you enjoy preserving the garden this way, you might also like learning how to dry flowers for arrangements and crafts, and exploring more ideas for making the most of your outdoor living space.
Frequently Asked Questions
Should I wash herbs before drying them?
Only if they are dusty, dirty, or you suspect insects. If you do wash them, swish gently in cool water, then dry them thoroughly with a towel or salad spinner before drying—any surface moisture slows drying and invites mold. Clean, unsprayed herbs can usually go straight to drying without washing.
How do I know when my herbs are completely dry?
Fully dried herbs are brittle and crumble when you rub a leaf between your fingers, and the stems snap rather than bend. If a leaf feels soft, leathery, or cool, there is still moisture inside and it needs more drying time. Never jar herbs that are not completely crisp.
Why does my dried basil taste like nothing?
Basil is a tender, high-moisture herb that loses most of its flavor when dried—the same goes for cilantro, chives, and parsley. These herbs are far better preserved by freezing. Chop them, pack into ice-cube trays with water or olive oil, freeze, and add a cube straight to your cooking.
How long do dried herbs last?
Properly dried and stored in airtight glass jars in a cool, dark place, most herbs keep good flavor for 1 to 3 years, with sturdy leaf herbs like oregano and bay lasting longest. They rarely spoil, but their flavor fades over time, so label and date your jars and replace them within that window.
Should I crush dried herbs before storing them?
No—store them as whole leaves. Intact leaves keep their volatile oils sealed in, which preserves flavor far longer. Crush or grind the herb only right before you cook with it, when you want to release its aroma into the dish.