

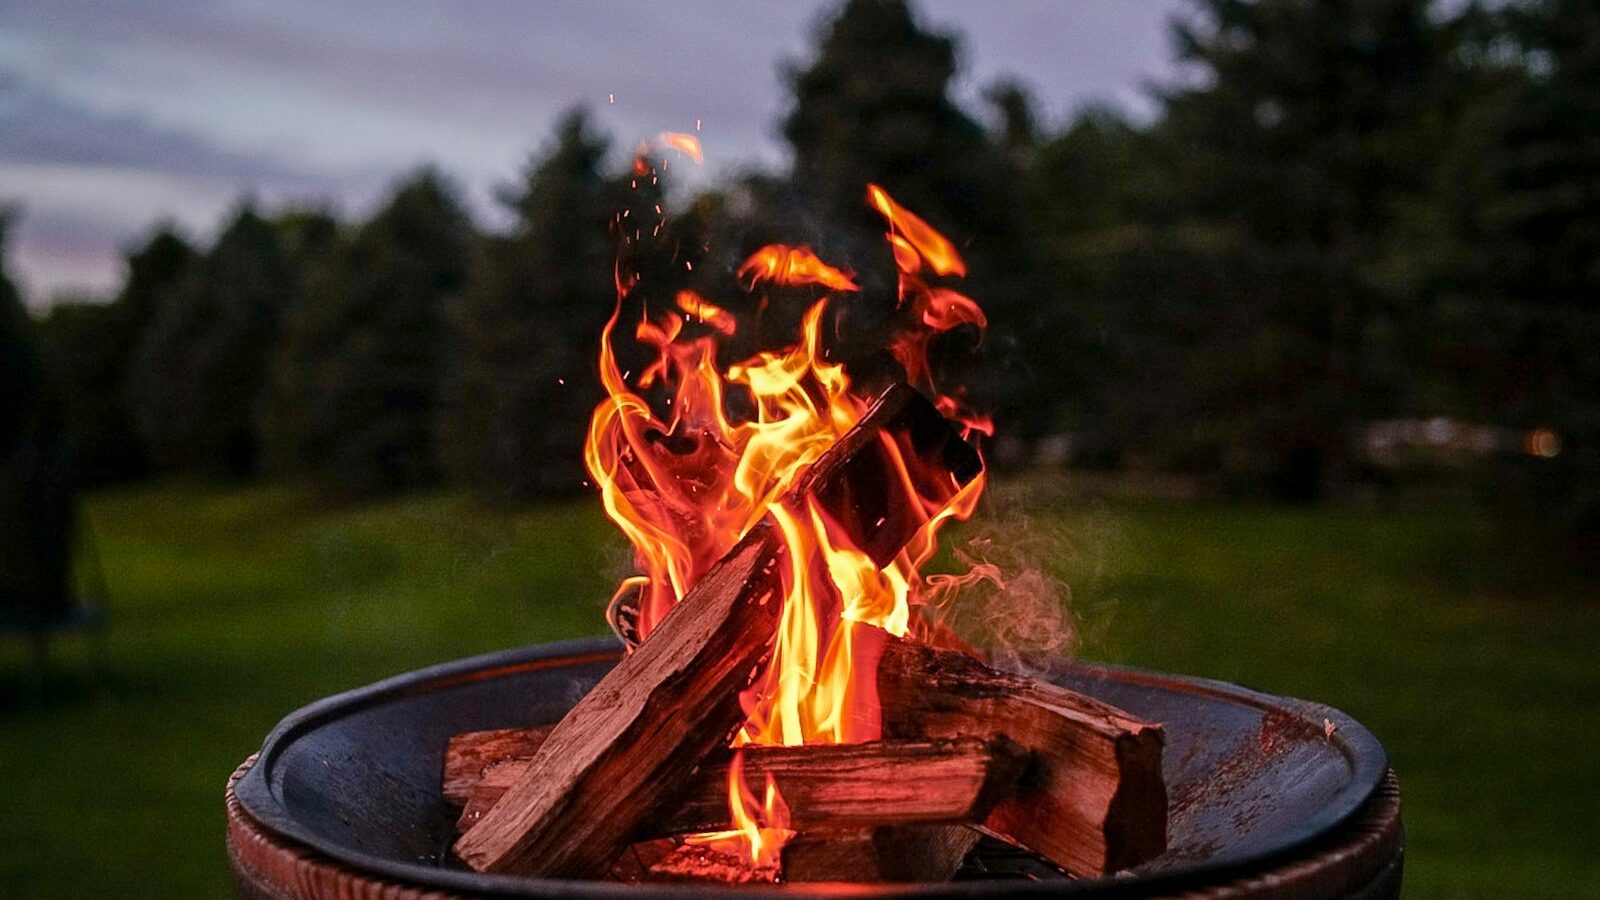
A fire pit turns an ordinary backyard into a place people actually want to linger after sundown. Whether you crave the crackle of real logs or the flip-a-switch ease of gas, there’s a setup to match your space, your budget, and how much work you want to do. These 28 ideas are grouped by theme so you can jump straight to the style that fits your patio or yard.
Key takeaways
- Wood-burning pits cost less up front and give you flames and crackle; gas/propane pits cost more but offer instant on/off and no smoke.
- Built-in stone or paver pits anchor a patio permanently, while portable bowls and bABY pits give you flexibility and a lower price.
- Budget DIY paver-kit pits run roughly $200-$600 and can go in over a weekend with no mortar.
- Keep any fire pit at least 10 feet from structures, fences, and overhanging branches, and set it on a non-combustible base.
- Pair the pit with a gravel pad, a seat wall, or a ring of Adirondack chairs to turn it into a true gathering spot.
Wood-burning vs. gas/propane: pick your fuel first
Fuel choice shapes everything else about your pit: where it can go, how much it costs, and how often you’ll actually use it. Wood-burning pits deliver the classic campfire experience: real flames, the smell of woodsmoke, and the simple joy of poking logs. Gas and propane pits trade some of that romance for convenience, with no ash to shovel, no smoke in your eyes, and a flame you can kill the instant you head inside.
| Wood-burning | Gas/propane | |
|---|---|---|
| Upfront cost | $50-$1,000+ (DIY kits cheapest) | $300-$3,000+ (more for built-in gas lines) |
| Running cost | Firewood, ~$5-$10 per evening | Propane ~$5-$15/tank; natural gas pennies per hour |
| Heat output | High, radiant warmth | Moderate; depends on BTU rating |
| Smoke & ash | Yes, plus cleanup | None |
| Setup time | Gather wood, build fire | Instant on/off |
| Ambiance | Crackle, woodsmoke, real logs | Clean, steady flame |
| Best for | Open yards, campfire lovers | Patios, decks, low-maintenance homes |
If you can’t decide, check local rules first: some neighborhoods and HOAs ban open wood fires or restrict them during dry season, which can make gas the only practical option. For a deeper rundown of specific models and styles, see our guide to the best fire pits.
Built-in stone and paver fire pits
A built-in pit is the most permanent, polished option, and it instantly reads as a designed outdoor room rather than an afterthought. These are mortared or kit-assembled rings that become part of your hardscape.
Ideas to steal
- Stacked-stone ring with a steel insert bowl for a rustic, lodge-like look. Cost cue: $400-$900 in materials.
- Concrete paver circle in a warm tan or charcoal to match an existing patio. Clean, modern, and easy to color-coordinate.
- Flagstone-capped pit with a wide flat top edge that doubles as a drink ledge or footrest.
- Square or rectangular gas pit clad in stone veneer for a contemporary linear flame. Cost cue: $1,200-$3,000 installed.
- Boulder-style pit using large natural stones for an organic, mountain feel that suits sloped or wooded lots.
Quick note: a built-in wood pit should always include a metal liner or insert to protect the masonry from cracking under repeated high heat.
Portable bowls and freestanding pits
Not ready to commit to a permanent build? Portable pits give you fire tonight and flexibility tomorrow. They’re ideal for renters, small yards, or anyone who likes to rearrange the patio with the seasons.
- Steel or cast-iron bowl on legs: the classic budget pick at $60-$200. Add a spark screen for safety.
- Corten (weathering) steel bowl that rusts to a rich orange patina for a sculptural, design-forward statement.
- Smokeless fire pit (double-wall stainless): burns cleaner and cuts down on the campfire-eyes problem. Cost cue: $250-$600.
- Tabletop propane pit for decks and balconies where a full-size pit won’t fit.
- Chiminea for a tall, front-loading flame that throws heat in one direction, great against a wall.
Quick note: always set a portable bowl on pavers, stone, or a fire-pit mat, never directly on a wood deck or dry grass.
Free, no-obligation quote · Connect with a local pro
Sunken fire pits and conversation lounges
A sunken pit, set into a recessed area with surrounding seating, creates an intimate, resort-style hangout. It’s one of the most dramatic upgrades you can make, and it works beautifully on flat lots and gentle slopes alike.
- Recessed conversation pit with built-in bench seating wrapping two or three sides.
- Gravel-floored sunken nook edged with a low retaining wall: budget-friendly and great for drainage.
- Step-down patio where one section drops 12-18 inches to frame the fire as the centerpiece.
- Poolside sunken pit tucked near the deck for a warm spot after evening swims.
Quick note: sunken pits need solid drainage. Add a gravel base and, in rainy regions, a drain so the pit doesn’t become a puddle. Gas is often the smarter fuel here since smoke pools in low spots.
Fire pit plus seating walls
Pairing a pit with a low seat wall solves the eternal problem of where everyone sits, and it gives the space architectural structure that loose chairs can’t. Seat walls typically run 18-20 inches tall, the same as a standard chair seat.
- Curved seat wall hugging a circular pit creates a natural conversation arc.
- Two facing knee walls with cushions for a built-in sofa effect.
- Seat wall with pillar lights at the ends for subtle nighttime glow and definition.
- Wall-plus-loose-chairs combo: fixed seating on the cold-wind side, movable Adirondacks on the rest.
- Capped wall with a wood top for a warmer, more comfortable place to perch.
Cost cue: a modest curved seat wall in retaining-wall block runs roughly $1,500-$4,000 installed, depending on length and finish.
On a patio vs. out in the yard
Where you place the pit changes both the vibe and the build. A patio pit feels like an extension of the home; a yard pit feels like a destination you walk out to.
On the patio
- Best for gas/propane, smokeless, or portable pits that won’t stain or scorch.
- Sits close to the kitchen and dining area, so it’s used more often.
- Often the easiest spot to run a natural-gas line. Learn the foundation with our guide on how to build a paver patio, and browse patio ideas for layout inspiration.
Out in the yard
- Better suited to wood-burning fires, with more clearance from the house.
- Define the spot with a gravel or paver pad so chairs sit level and grass doesn’t crowd the flame.
- A short path of stepping stones makes the pit feel like an intentional retreat.
Materials and finishes
The material you choose sets the tone and the price. Mixing two materials, say, a stone ring on a gravel pad, almost always looks more custom than one finish alone.
- Concrete pavers/block: affordable, uniform, easy DIY. The workhorse of budget builds.
- Natural stone (fieldstone, flagstone): timeless and rugged, but pricier and heavier to set.
- Brick: classic and warm; great for traditional and farmhouse yards.
- Corten/weathering steel: modern, sculptural, develops a rust patina over time.
- Stainless steel: sleek and rust-resistant, common in smokeless pits.
- Concrete (poured or cast): minimalist square and bowl shapes for contemporary spaces.
Safety and clearances
A fire pit is only as good as it is safe. A few non-negotiables keep cozy nights from turning into emergencies.
- Clearance: keep the pit at least 10 feet from your house, fences, sheds, and overhanging tree branches.
- Base: always burn over a non-combustible surface, gravel, pavers, stone, or concrete, never wood decking or dry lawn without a protective mat.
- Wind: skip the fire on gusty days; embers travel farther than you think.
- Water nearby: keep a hose or bucket within reach, and never leave a fire unattended.
- Screen: use a spark screen on wood pits, especially around kids and pets.
- Check the rules: confirm your city or HOA allows open fires and whether burn bans are in effect.
Budget DIY paver-kit pits
The fastest, cheapest path to a real fire pit is a stackable paver kit from a home-improvement store. Most are designed to dry-stack, no mortar required, so a beginner can finish one in an afternoon.
- Trapezoidal wall-block kit: the blocks are wedge-shaped so they form a perfect circle. Cost cue: $200-$400.
- Square modular kit: easy corners and a contemporary look for $250-$500.
- Insert-and-block combo: add a steel fire ring to protect the blocks and extend their life.
- Upgrade for under $100: a snap-on cooking grate or a spark screen turns the pit into a grill or makes it kid-safer.
Quick note: level and tamp the ground first, set the first course of blocks dead level, and use construction adhesive on the top course so it can’t be knocked loose.
Free, no-obligation quote · Connect with a local pro
Styling with gravel and Adirondack chairs
The finishing touches are what make a pit feel like a place. A little intentional styling goes a long way once the fire is built.
- Pea-gravel pad: a 10-12 foot circle of gravel under and around the pit keeps things tidy, drains well, and defines the zone.
- Ring of Adirondack chairs: the all-American classic; relaxed, low, and built for staring at flames. Add weather-resistant cushions.
- String lights overhead on posts or a pergola for a warm canopy of light.
- Side tables and a log holder keep drinks and firewood close at hand.
- Soft landscaping with ornamental grasses or a low planted border softens the hardscape edges.
For more ways to tie the pit into a complete outdoor scheme, explore our full outdoor living guide.
Frequently asked questions
Is a wood-burning or gas fire pit better?
It depends on what you value. Wood-burning pits cost less up front, throw off more heat, and deliver real flames and crackle, but they make smoke and ash and require cleanup. Gas and propane pits cost more and produce less heat, but they turn on instantly, make no smoke, and shut off the moment you head inside, which makes them ideal for patios and decks.
How far should a fire pit be from the house?
Keep any fire pit at least 10 feet from your house, fences, sheds, and other structures, and well clear of overhanging tree branches. Always burn over a non-combustible base such as gravel, pavers, or concrete, and check your local codes or HOA rules, since some areas require greater distances.
How much does a DIY paver fire pit cost?
A basic stackable paver-kit pit typically runs $200-$600 in materials and can be assembled in an afternoon with no mortar. Adding a steel fire-ring insert, a cooking grate, or a gravel pad raises the cost modestly but improves durability and looks.
Can I put a fire pit on my patio or deck?
On a patio made of pavers, stone, or concrete, yes, especially a gas, propane, or smokeless model. On a wood deck, stick to a propane or smokeless pit set on a fire-resistant mat or heat shield, and never use an open wood fire directly on combustible decking.
What’s the best base for a fire pit?
A level, non-combustible surface is ideal. Pea gravel, crushed stone, pavers, or a concrete pad all work well and help with drainage. Avoid placing a pit directly on grass or a wooden surface, and tamp the ground level before building so the structure stays stable.
Featured project by Gensou Aquascaping
Want a fire pit or patio built?
Compare free, no-obligation quotes from vetted local hardscaping pros near you.