

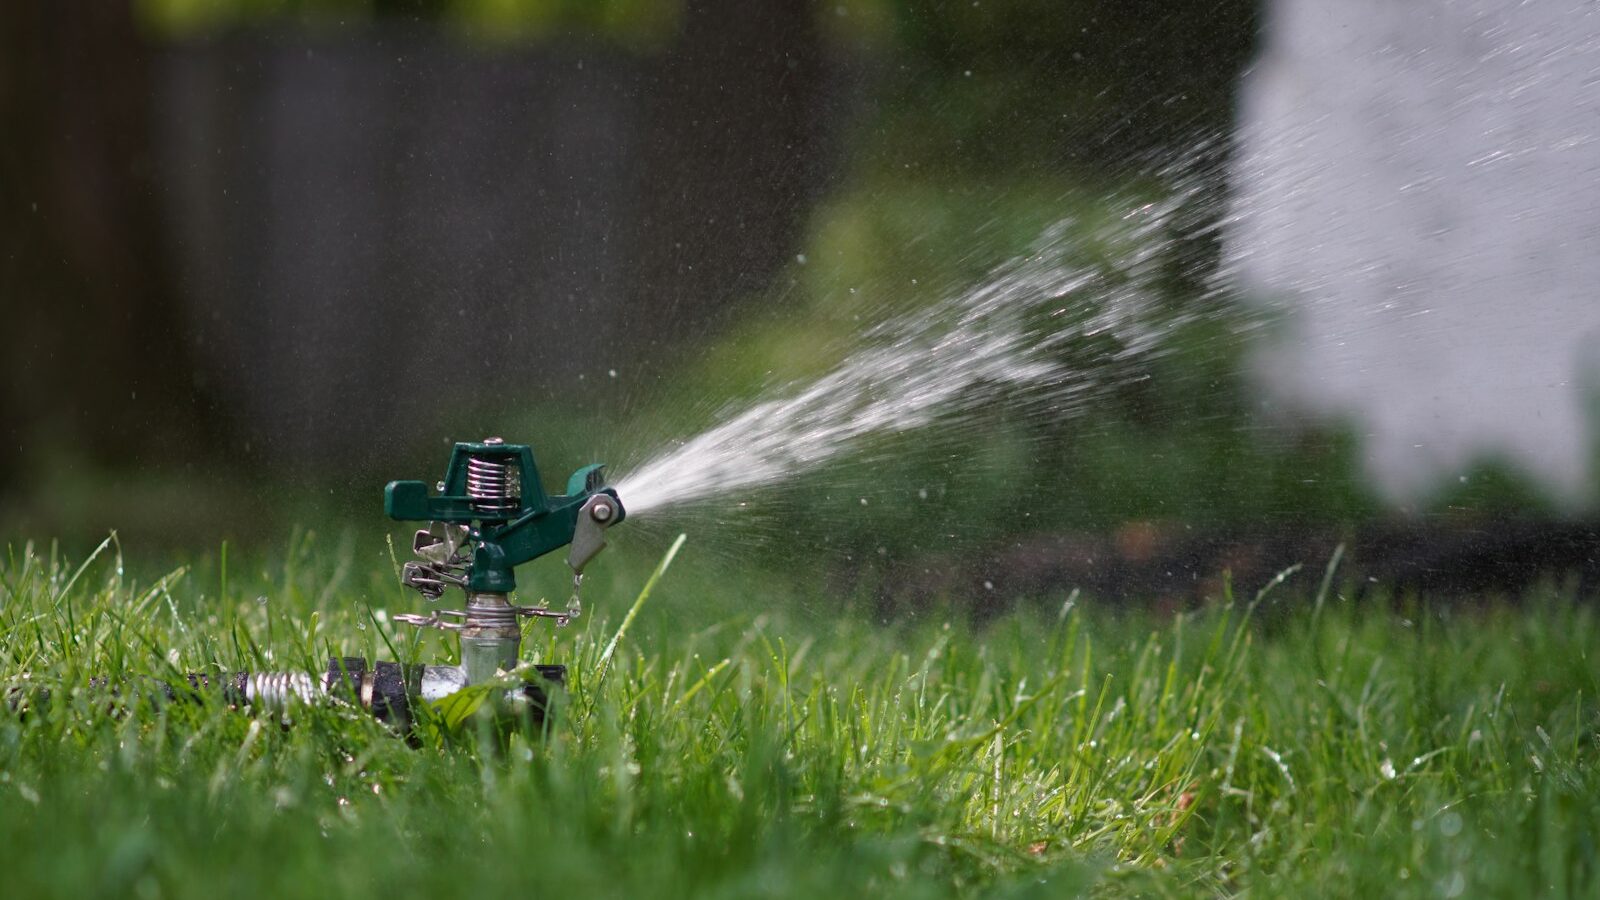
When water freezes inside your irrigation system, it expands with enough force to crack PVC pipes, split valve bodies, and shatter the brass innards of a backflow preventer. Winterizing your sprinklers before the first hard freeze is the single best way to avoid an expensive spring repair bill. This guide walks you through why it matters, when to do it, the three proven drain methods, and how to protect your backflow assembly the right way.
As an Amazon Associate we earn from qualifying purchases.
Key takeaways
- Winterize before the first hard freeze
- Shut off the water & insulate the backflow
- Drain via manual, auto, or air blow-out method
- Blow-out: keep PSI low (≤50-80) & wear eye protection
- If unsure, hire a pro — burst pipes are costly
Why winterizing sprinklers matters
Water is one of the few substances that expands as it freezes — roughly 9% by volume. That expansion exerts thousands of pounds of pressure per square inch on whatever contains it. In an irrigation system, the water that lingers in your mainline, lateral pipes, valves, sprinkler heads, and backflow preventer becomes a slow-motion wrecking crew once temperatures drop below freezing.
The most vulnerable components are the ones that hold standing water and have rigid metal or plastic bodies. A backflow preventer can cost $150 to $400 or more to replace, and a buried, cracked mainline can run into four figures once you factor in excavation. Even a single split poly pipe means digging, cutting, and re-gluing fittings in cold spring soil. Compared with an afternoon of winterizing, the math is not close.
If you are still planning your overall fall yard routine, our prepare your garden for winter guide covers the rest of the seasonal checklist, and the outdoor living guide ties irrigation into the bigger backyard picture.
When to winterize (timing matters)
The rule of thumb: winterize before the first hard freeze of the season — generally the first time overnight lows are forecast to hit 28°F (-2°C) or lower for several hours. A light frost on the grass is not the threat; a sustained hard freeze that penetrates the soil is. In most of the northern U.S. that window falls somewhere between mid-October and mid-November, but it varies year to year, so watch the forecast rather than the calendar.
How to time it right
- Track the 10-day forecast in early fall and act when a hard freeze first appears.
- Give yourself a buffer of a few days — don’t wait for the night the freeze actually arrives.
- Shallow-buried pipe (less than 12 inches) freezes faster, so err on the early side if your lines are near the surface.
- Drain on a dry, above-freezing day so you’re not working around ice.
Step 1: Shut off the water and set the controller
Every winterizing job starts the same way: stop new water from entering the system. Locate the irrigation shutoff valve — often in a basement, crawlspace, or a buried valve box near the water meter or where the irrigation line tees off your main supply.
Steps
- Close the irrigation system shutoff valve completely.
- Set your sprinkler controller (timer) to “Rain” or “Off” mode so it won’t try to run cycles over winter. Most controllers retain your program settings in this mode.
- If your controller has a battery backup, leave it — it preserves your schedule for spring.
- Open a single zone briefly to relieve downstream pressure before you start draining.
With the supply closed, you’re ready to choose a drain method. There are three, and which one you use depends on how your system was designed.
Free, no-obligation quote · Connect with a local pro
Step 2: Choose your drain method
Method A — Manual drain
If your system has manual drain valves at the low points and ends of each zone, this is the simplest approach. Gravity does the work.
- With the main supply already off, open every manual drain valve on the mainline and laterals.
- Open the test cocks (small bleed valves) on the backflow preventer to let trapped water out.
- Lift each sprinkler head with a check valve, or open the boiler-drain valve between the shutoff and backflow, to relieve water trapped between components.
- Once water stops flowing, leave the drain valves open through the winter so any condensation can escape.
Manual draining works well in milder climates, but it can leave water behind in heads and low spots that don’t drain by gravity. In hard-freeze regions, many pros follow up with a blow-out for insurance.
Method B — Automatic drain
Auto-drain systems have spring-loaded valves that open automatically when system pressure drops below a set point (usually a few PSI).
- Shut off the main supply.
- Activate a zone from the controller to drop the pressure — the auto-drain valves open on their own and empty the laterals.
- Manually relieve water trapped between the shutoff and the backflow by opening the boiler drain or test cocks.
- Drain the backflow preventer separately (see Step 3) — auto-drains don’t cover it.
Auto-drains are convenient but not foolproof; debris can keep a valve from sealing or opening fully, so inspect them and consider a blow-out if you’re in a deep-freeze zone.
Method C — The blow-out method (air compressor)
The blow-out method uses compressed air to push every drop of water out of the lines and heads. It’s the most thorough method and the standard in hard-freeze climates — but it’s also where most injuries and damage happen, so read the safety section below before you start.
You’ll need an air compressor with adequate volume (CFM) and a quick-connect blow-out adapter that threads into your system. A typical residential system needs around 10-25 CFM at low pressure; a small pancake compressor moves enough air for one head at a time but works slowly. Grab a sprinkler blow-out adapter sized to your fitting before you start.
- Shut off the main water supply and confirm it’s fully closed.
- Connect the blow-out adapter on the downstream side of the backflow (or at the dedicated blow-out port), never directly through the backflow assembly.
- Set the compressor regulator LOW — no more than 50 PSI for buried PVC and 80 PSI absolute maximum for poly pipe. Higher pressure can rupture pipe and launch heads.
- Open ONE zone at the controller before you introduce air, so the air has somewhere to go.
- Slowly open the air valve. Run each zone until the heads spit out mostly mist and air — usually under two minutes per zone.
- Never run a zone dry for more than about two minutes; air friction generates heat that can melt gears and seals.
- Cycle through every zone, starting with the farthest from the compressor. Repeat each zone once more to catch residual water.
- Disconnect the air, release pressure, and leave the system depressurized.
Blow-out safety warnings
- Wear ANSI-rated eye protection. Caps and debris can blow off heads at speed.
- Keep PSI low. 50 PSI for PVC, 80 PSI absolute max for poly — this is the most important rule.
- Never stand over a head while blowing out a zone.
- Always have a zone open before applying air; trapped air with nowhere to go can blow apart fittings.
- Don’t blow air through the backflow preventer — drain it separately to protect its internal seals.
- When in doubt about your compressor’s capacity or your system’s tolerance, stop and call a pro.
Step 3: Drain and insulate the backflow preventer
The backflow preventer is the most freeze-vulnerable part of the system because it sits above ground and holds water in its brass body and test cocks. Protecting it is non-negotiable.
Draining the backflow
- With the supply off, close both the inlet and outlet ball/gate valves on the assembly.
- Open the two test cocks (the small screwdriver-slot valves) about halfway — this releases trapped water and lets any future condensation drain.
- Turn the inlet and outlet ball valves to a 45-degree angle so no water can pool inside the valve seat.
- Let it drain fully; a small amount of standing water in an empty body has room to expand without cracking.
Insulating the backflow
- Wrap the exposed pipe risers with foam pipe insulation sleeves.
- Cover the whole assembly with an insulated backflow insulation cover or an insulated bag rated for outdoor use.
- For extra protection in deep-freeze areas, add a layer of frost cloth or an old towel under the cover, but keep the test cocks accessible.
- Make sure the cover lets the test cocks vent — sealing them airtight can trap moisture.
When to call a pro
Plenty of homeowners winterize their own systems every fall — but the blow-out method in particular rewards experience, and a mistake is costly. Consider hiring a professional if any of the following apply.
- You don’t own an air compressor with enough CFM, and renting plus learning isn’t worth it for one job.
- Your system is large, has many zones, or you can’t locate the shutoff valve or drain points.
- You’ve had freeze damage before and want a guaranteed, thorough job.
- You’re uncomfortable working with pressurized air near rigid pipe and brass fittings.
- Your backflow assembly is complex or recently required certification.
A professional blow-out typically runs $50 to $150 for an average residential system — a fraction of the cost of replacing a burst mainline or a cracked backflow. As you think about your system’s design and efficiency for next season, our guides on drip vs sprinkler irrigation and the best lawn sprinklers can help you upgrade smartly.
Frequently asked questions
What PSI should I use for blowing out sprinklers?
Keep it low. Use 50 PSI maximum for buried PVC pipe and never exceed 80 PSI even for poly pipe. Higher pressure can rupture lines and launch sprinkler heads. Always open a zone before applying air, and wear eye protection.
Can I winterize sprinklers without an air compressor?
Yes, if your system has manual or automatic drain valves. Shut off the supply, open the drain valves, and let gravity empty the lines. In hard-freeze climates a blow-out is the safer bet, but in milder areas thorough manual draining is often enough.
When is it too late to winterize my sprinklers?
Ideally you winterize before the first hard freeze (around 28°F overnight). If a freeze is already forecast within a day or two, act immediately. If pipes have already frozen, wait for a thaw and inspect for cracks before pressurizing the system again.
Do I need to drain the backflow preventer separately?
Yes. Auto-drains and most blow-out setups don’t empty the backflow body. Close its valves, open the test cocks, set the ball valves to 45 degrees, and insulate it with a cover. It’s the most freeze-prone part of the whole system.
How much does professional sprinkler winterization cost?
Most residential blow-outs run about $50 to $150 depending on system size and number of zones. That’s far cheaper than repairing a burst pipe or replacing a cracked backflow preventer, which can cost several hundred dollars or more.
Want a pro to winterize your sprinklers?
Compare free, no-obligation quotes from vetted local irrigation pros near you.