

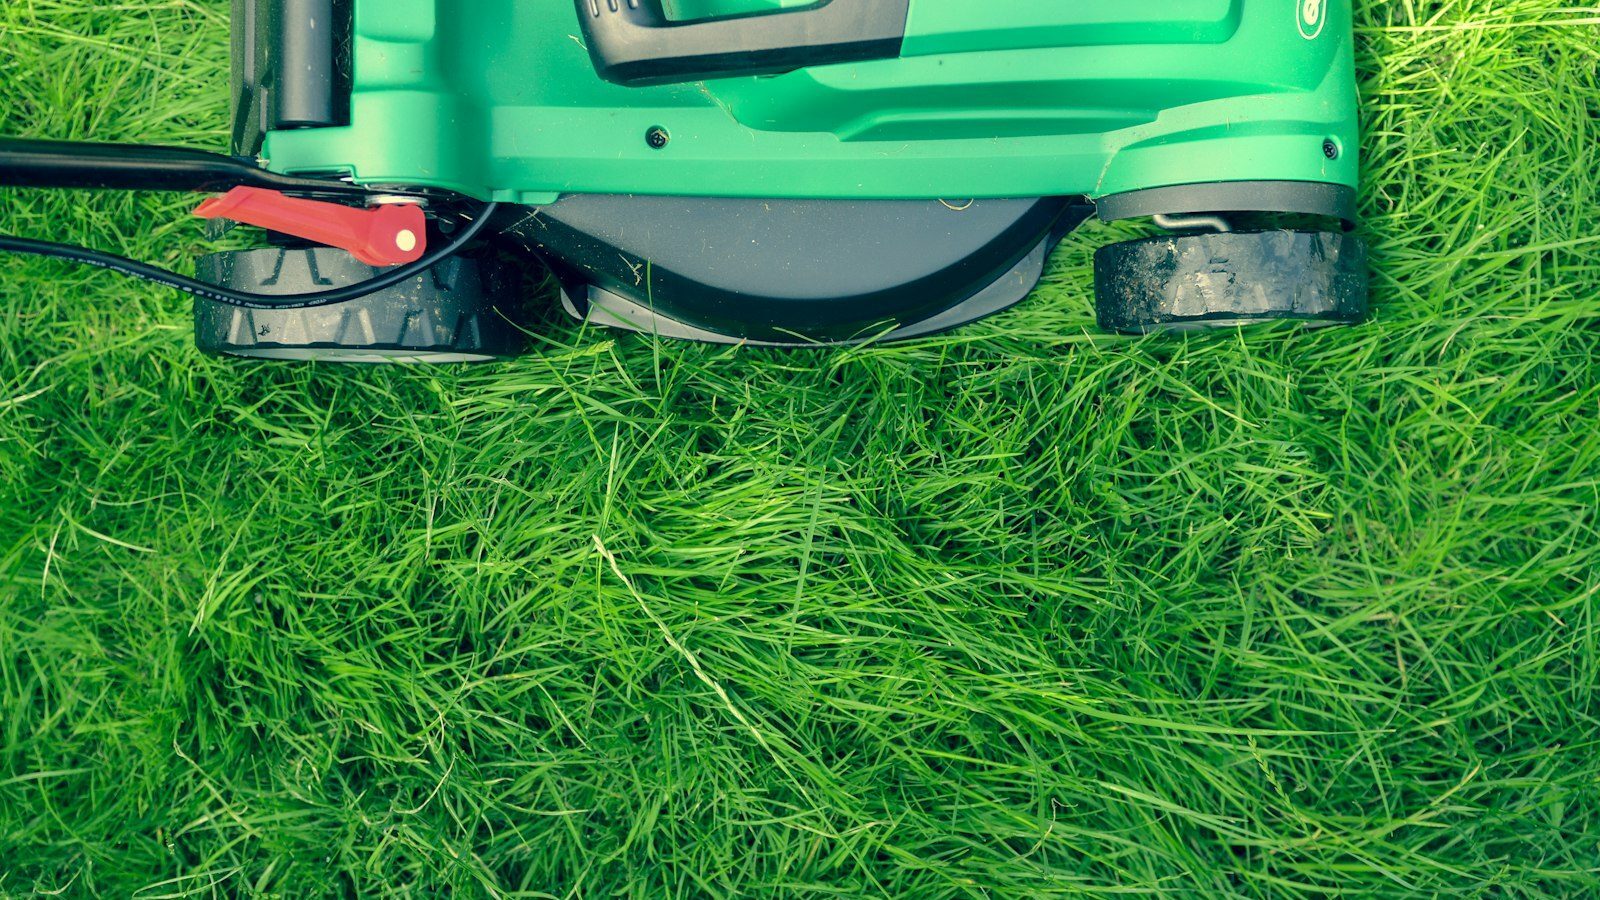
A dull mower blade does not cut grass — it tears it, leaving frayed, whitish-brown tips that invite disease and make even a well-watered lawn look ragged. Sharpening the blade is one of the highest-payoff jobs in lawn care, it takes about 30 minutes, and you can do it with tools you probably already own. This guide walks you through it safely from start to finish: disconnecting the spark plug, removing the blade, sharpening to the correct angle, the critical balancing step most people skip, and reinstalling it the right way up. Do this two or three times a season and your mower will leave a clean, healthy cut every time.
Key Takeaways
- Always disconnect the spark plug (or remove the battery on cordless mowers) before touching the blade — this is non-negotiable.
- Sharpen to the blade’s original angle, about 30–40°, and only the top beveled edge — a mower blade should be “butter-knife” sharp, not razor sharp.
- Balance the blade after sharpening; an unbalanced blade causes vibration that wrecks bearings and the engine shaft.
- Mark the blade’s orientation before removal so you reinstall it cutting-edge-forward — a backwards blade will not cut.
- Sharpen 2–3 times per season, or after about 25 hours of mowing, and replace a blade that is cracked, deeply gouged, or worn thin.
Why a Sharp Blade Matters
A lawn mower blade works by impact, not slicing — it spins fast enough to sever the grass cleanly only if the edge is keen. When it dulls, it stops cutting and starts bludgeoning, tearing each blade of grass and leaving a shredded tip that loses moisture and turns brown within a day. Step back from a freshly mowed lawn and you can spot a dull blade instantly: instead of crisp green, the whole surface has a hazy, tan cast from millions of frayed ends. Those ragged wounds also heal slowly and give fungal diseases an easy entry point.
A dull blade costs you in other ways too. The engine works harder to push a dull edge through grass, burning more fuel and straining the motor. A clean cut, by contrast, lets grass recover quickly, holds moisture, and resists disease. Keeping the blade sharp is one of the cheapest, fastest things you can do for a healthier lawn — and it pairs naturally with the other maintenance habits in our outdoor living and lawn care hub.
Tools and Safety First
Gather a socket wrench or breaker bar to fit the blade bolt, a block of wood to jam the blade while you loosen it, work gloves, and safety glasses. For sharpening you can use a metal file (slowest but most controllable), a bench grinder, or an angle grinder with a flap or metal disc (fastest, but easy to overheat the metal). To balance the blade afterward you need either a cheap cone-style blade balancer or simply a nail in the wall.
Before anything else, disable the engine. On a gas mower, pull the boot off the spark plug so the engine cannot possibly fire while your hands are near the blade. On a cordless electric mower, remove the battery; on a corded model, unplug it. This single step prevents the most serious mower injuries, so never skip it. It also helps to tip the mower with the carburetor and air filter facing up (or to drain the fuel first) so gas and oil do not leak into the air filter while the mower is on its side.
Step 1: Remove the Blade
With the spark plug disconnected, tip the mower on its side. Before you loosen anything, take a moment to mark the bottom face of the blade with a paint pen or piece of tape. The blade only cuts when reinstalled in the same orientation, and it is surprisingly easy to flip it during reassembly — a backwards blade spins harmlessly without cutting a thing. Note which way the cutting edges face as they sweep.
Wedge a block of wood between the blade and the mower deck to stop the blade from spinning, then loosen the center bolt with your socket wrench, turning counterclockwise. The bolt is often torqued tight, so a breaker bar or a cheater pipe over the wrench handle gives you leverage. Once loose, remove the bolt and lift off the blade, keeping track of any washers, spacers, or bell-shaped adapters and the order they came off in.
Step 2: Sharpen to the Right Angle
Clamp the blade in a vise and examine the existing edge. Mower blades have a single bevel ground onto the top of each cutting end, typically at a 30–40° angle, and your job is simply to restore that factory bevel — not to invent a new one. Resist the urge to make it razor sharp; a mower blade hits dirt, sticks, and the occasional stone, so a too-fine edge chips immediately. The target is “sharp enough to slice a sheet of paper with effort,” roughly as keen as a butter knife.
Work the file or grinder along the top bevel only, always pushing in one direction following the original angle, and apply equal strokes to both cutting ends so you remove the same amount of metal from each — uneven grinding throws the blade out of balance. If you use a powered grinder, move steadily and keep the metal from getting too hot; a blade that turns blue has lost its temper (hardness) and will dull fast. Dip it in water periodically if it heats up. Remove only enough metal to bring back a clean, continuous edge and to grind out any small nicks. Leave the very tip of the cutting corner slightly blunt rather than knife-pointed, since that corner does the most work and chips easily.
Step 3: Balance the Blade
This is the step home users most often skip, and it is the one that protects your mower. A blade spinning at around 3,000 RPM will shake the entire machine if one end is even slightly heavier than the other, and that vibration destroys the engine’s crankshaft bearings over time, loosens fasteners, and makes the mower miserable to push.
Checking balance is simple. Hang the blade on a nail driven into the wall (or set it on a cone balancer) through its center hole and watch which way it tips. If one side dips down, that end is heavier — file a little more metal off the bevel of the heavy side, then check again. Repeat until the blade hangs level and motionless on its own. Always correct balance by removing metal from the cutting bevel, never from the body of the blade, and never by adding weight to the light side.
Step 4: Reinstall and How Often to Sharpen
Slide the blade back onto the spindle in the same orientation you marked, with the cutting edges leading and the bent “lift” wings pointing up toward the deck (the side that faces the deck has the upturned wings; the cutting edges face down toward the grass). Reinstall any spacers and adapters in the order you removed them, then thread the center bolt and tighten it firmly — most mowers call for a snug, high torque, so refer to your manual if it specifies a figure. A loose blade bolt is dangerous. Reconnect the spark plug last, only once everything is reassembled.
Plan to sharpen the blade two to three times during the mowing season, or after roughly every 25 hours of use — more often if you mow large areas, sandy soil, or frequently hit debris. Inspect the blade each time you sharpen: replace it outright if you find cracks, deep gouges you cannot grind out, a thinned or eroded “sail” area near the wings, or so much wear that sharpening has shortened the cutting ends. Blades are inexpensive, and a cracked one can fail at speed. For the rest of your seasonal lawn routine, our Outdoor Living hub covers mowing height, watering, and lawn repair.
Frequently Asked Questions
How sharp should a lawn mower blade be?
A mower blade should be about as sharp as a butter knife — keen enough to slice paper with some effort, but not razor sharp. Because the blade hits dirt and the occasional stone, a too-fine edge chips immediately. Restore the original 30–40° bevel on the top edge and leave the cutting corner slightly blunt.
Do I really need to balance the blade?
Yes. A blade spinning at thousands of RPM with one side even slightly heavier creates vibration that destroys the engine’s bearings and crankshaft over time and loosens fasteners. Hang the blade on a nail through its center hole; if one end dips, file a little more off that side’s bevel until it hangs level.
How often should I sharpen my mower blade?
Sharpen two to three times per mowing season, or roughly every 25 hours of use. Sharpen more often if you mow large areas, sandy soil, or regularly hit sticks and debris. A telltale sign it is overdue is a lawn with a hazy, tan cast from frayed, torn grass tips the day after mowing.
Which way does the blade go back on?
The cutting edges must lead the rotation and face down toward the grass, while the upturned “lift” wings face up toward the deck. Mark the blade before removal so you reinstall it the same way. A blade mounted upside down spins harmlessly and will not cut the lawn at all.
Can I sharpen a blade without removing it?
It is far safer and more effective to remove the blade so you can clamp it, sharpen evenly, and balance it. If you sharpen it on the mower you cannot balance it, you risk grinding unevenly, and your hands are near a blade that could turn. Always disconnect the spark plug first regardless.