

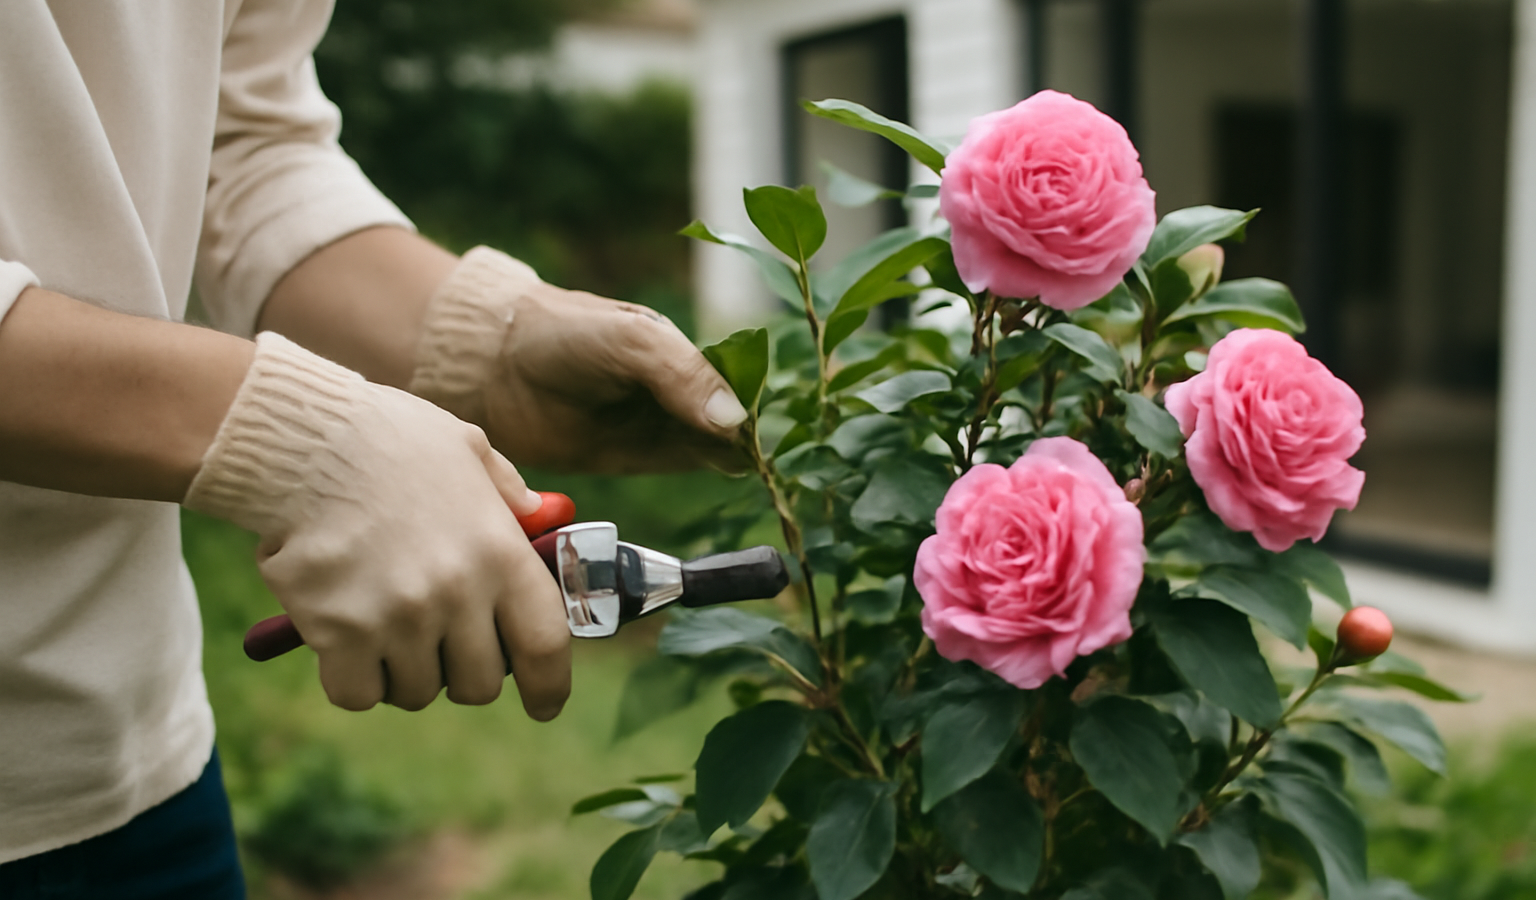
Camellias are forgiving shrubs, which is why so many of them get pruned wrong and still survive. But there is a real difference between a camellia that is hacked back in a panic and one that is shaped with intent: the second blooms harder, stays open enough to dodge disease, and keeps a frame you actually want to look at. The whole game comes down to two things, timing and restraint. Cut at the right moment and you get a fuller plant with more flowers next year. Cut at the wrong moment and you mow off the flower buds you were waiting all year to see.
Most camellias grown in US gardens are one of two species, and they have opposite bloom seasons that flip the whole pruning calendar. Camellia japonica (the classic large-flowered camellia) blooms in late winter into spring, roughly January through April depending on your zone. Camellia sasanqua blooms in fall and early winter, often October through December. Both are hardy in USDA zones 7 through 9, with some cultivars stretching into zone 6b with shelter. Knowing which one you have decides everything that follows, so start there.
Key Takeaways
- Prune right after bloom finishes, before the new growth flush. Japonica in late winter to early spring (about March to April); Sasanqua after its fall/early-winter bloom.
- Next year’s flower buds set on this season’s new growth during summer, so pruning after the summer flush removes buds. That is why timing matters more than technique.
- Use the 1/3 method to renovate an old leggy camellia: remove up to a third of the oldest stems to the base each year over three years rather than topping the whole plant at once.
- Thin (remove whole branches at their origin) to open the canopy and reduce disease; head back (shorten branches) only to control size or shape.
- Always cut out dead, crossing, and inward-growing branches first, and watch for camellia leaf gall and tea scale, which both call for pruning out affected tissue.
When to Prune Camellias
The single most important rule is to prune as soon as flowering ends and before the plant pushes its spring and summer growth. Camellias set their flower buds on new wood that grows after blooming, through late spring and summer. By midsummer those buds are formed and sitting at the branch tips, waiting out fall and winter to open. If you prune in summer, fall, or winter, you are cutting off next season’s flowers. Prune in that narrow window right after bloom and the plant has the entire growing season to regrow and set fresh buds, so you lose nothing.
Japonica timing
Japonica camellias finish blooming in late winter to mid-spring. In most of zones 8 and 9 that means late February through April. Watch the plant, not the calendar: once the last good flowers have dropped and you see no more fat flower buds about to open, you are clear to prune. Aim to finish before the new leaf shoots elongate, usually by mid to late April. Pruning into the early flush is fine, but you want the cuts made before the plant invests heavily in growth you are about to remove.
Sasanqua timing
Sasanquas bloom in fall and early winter, so their pruning window is late winter, after the flowers fade and before spring growth. In practice that is January through February in mild zones. Sasanquas are generally faster-growing and more tolerant of shearing than japonicas, which is why they get used as informal hedges and espaliers. They take pruning well, but they follow the same buds-on-new-growth rule, so resist the urge to tidy them in summer.
One practical note for both: light tip pruning to deadhead spent blooms or remove an obviously dead twig can be done any time without harm. It is heavy structural pruning that is locked to the post-bloom window. Many gardeners do not need to prune an established, well-placed camellia every year at all; these are slow, naturally graceful shrubs, and a light touch every two or three years is often plenty.
Tools You Need
Camellia wood is dense and the bark bruises easily, so clean, sharp cuts matter. You do not need much:
- Bypass hand pruners for stems up to about half an inch. Bypass (scissor-action) blades cut cleanly; anvil pruners crush camellia stems and leave a wound that heals slowly.
- Loppers for branches roughly half an inch to an inch and a half, especially deep inside the plant where you cannot reach with one hand.
- A folding pruning saw for anything thicker than an inch and a half, which you will hit when renovating old plants by removing trunk-sized stems at the base.
- Isopropyl alcohol or a 10 percent bleach solution to wipe blades between plants, since camellias can carry fungal and viral issues you do not want to spread.
Sharpen before you start. A dull blade tears, and torn camellia bark is an open door for dieback fungi.
How to Make the Cut
Where you place the cut decides how the plant responds. There are two basic moves, and choosing between them is most of the skill.
Thinning cuts
A thinning cut removes an entire branch back to its point of origin, either the main trunk or a larger parent branch. This is your primary tool for camellias. Thinning opens up the dense interior, lets light and air reach the center, and reduces the humid stagnant conditions that breed petal blight and dieback. Because you are removing a branch at its base, thinning does not trigger the bushy regrowth that shearing does; the plant keeps its natural open form. When you cut, leave the branch collar (the slightly swollen ring where the branch meets the parent) intact rather than cutting flush, so the wound can seal.
Heading cuts
A heading cut shortens a branch rather than removing it. Cut about a quarter inch above an outward-facing leaf node or a small side branch. The plant will push new growth from buds just below the cut, so heading makes the plant denser and bushier at that point. Use heading sparingly, to control overall size, to push a leggy branch to fill out, or to keep a hedge tight. Cut to an outward-facing bud so the new shoot grows away from the center, not back into the crowded middle.
Order of operations
- Dead, diseased, and damaged wood first. Cut back to clean, live tissue (you will see green or white when you nick the bark). This alone often transforms how the plant looks.
- Crossing and rubbing branches. Where two branches cross and chafe, remove the weaker or more inward one. Rubbing wounds invite disease.
- Inward-growing branches. Anything pointing back toward the center of the shrub crowds the interior. Take it out at the base to open the plant up.
- Shape and size last. Once the structure is clean, step back, look at the silhouette, and make the few heading cuts needed to balance the form. Stop when it looks right rather than forcing symmetry.
As a general limit, avoid removing more than about a quarter to a third of the total canopy in a single year on an otherwise healthy plant. The exception is deliberate renovation, covered below, which is staged over several years.
Renovating an Old, Leggy Camellia
Old camellias often become tall, bare-legged, and top-heavy, with all the foliage and flowers way up high and a tangle of bare trunks below. The good news is that camellias respond well to renewal because they readily sprout from old wood, even from the base. The bad news is that the brute-force fix (sawing the whole plant down to knee height in one go) shocks the plant, exposes interior bark to sunscald, and can leave you with no flowers for two or three years. The gradual 1/3 method gets you there with far less risk.
The 1/3 method, year by year
- Year one: Identify the oldest, thickest, tallest stems, the ones doing the least and shading the rest. Cut up to one-third of them all the way to the base or to a low strong side branch. New shoots will break from the remaining wood and low on the trunks over the season.
- Year two: Remove the next third of the old stems to the base, again right after bloom. By now the low shoots from year one are filling in the lower part of the plant.
- Year three: Take out the last of the original old stems. The shrub is now rebuilt from younger, lower, more vigorous growth, full from the ground up, and back in good flowering form.
Spreading the renovation over three years keeps enough foliage on the plant each season to feed it and shade its own bark, and it keeps some flowers coming the whole time. If a camellia is genuinely struggling or you have moved it, hold off on heavy renovation until it is established and visibly healthy. This is the same staged renewal logic that works for most large woody shrubs; if you want the broader version of the technique, see our guide on how to prune an overgrown shrub.
Pests and Problems to Prune Out
Camellia leaf gall
In spring you may find new leaves and shoots that are swollen, thick, pale green to pinkish, and fleshy. This is camellia leaf gall, a fungal infection (Exobasidium) that distorts the soft new growth. It looks alarming but rarely threatens the plant. The fix is mechanical: pick or prune off the galled tissue while it is still firm and before the undersides turn white and release spores, then bag and discard it. Removing galls promptly each spring steadily reduces the problem in following years. Good air circulation, which your thinning cuts provide, makes the plant far less prone to it.
Tea scale
Tea scale is the most common serious camellia pest. You will see yellow blotchy mottling on the upper leaf surface and, flipping the leaf, a fuzzy white-and-brown crust of scale insects on the underside. Heavy infestations weaken the plant and reduce flowering. Dense, congested interiors make scale worse, so thinning the canopy is part of the cure: prune out the most heavily infested branches, open the plant for spray penetration, and treat with horticultural oil according to the label. Improving airflow does as much long-term good as any spray.
Dieback and canker
If a branch suddenly wilts and the leaves turn brown and hang on, suspect dieback. Prune the affected branch well back into healthy wood, at least several inches below any visible discoloration in the stem, and disinfect your blade between cuts so you are not spreading it. Pruning during dry weather, never when the foliage is wet, reduces the chance of introducing these fungi through fresh cuts.
Aftercare
Pruning right after bloom lines up perfectly with the start of the camellia’s feeding season, so this is the moment to support the regrowth you just encouraged.
- Water deeply if spring is dry. Camellias are shallow-rooted and want consistently moist, never waterlogged, soil while they push new growth. Aim for about an inch of water a week including rain.
- Mulch with 2 to 3 inches of pine bark, pine straw, or shredded leaves over the root zone, kept a couple of inches back from the trunk. This conserves moisture and keeps the acidic, organic soil camellias prefer.
- Feed lightly after pruning with a fertilizer formulated for acid-loving plants (the same type sold for azaleas and rhododendrons), following the label rate. Do not overfeed; too much nitrogen pushes soft growth and few flowers.
- Hold off on more cutting. Once you are past the post-bloom window, leave the plant alone so it can set next year’s buds undisturbed.
Camellias reward patience. A plant pruned correctly once, in the right month, will outperform one fussed over at the wrong times all year. For more on shaping woody plants and the rest of your yard, browse our outdoor living guides, and if you are tackling other tired shrubs, the staged-renewal approach in our piece on pruning an overgrown shrub applies directly.
Frequently Asked Questions
When is the best time to prune camellias?
Prune right after the plant finishes blooming and before it pushes new spring and summer growth. For Japonica camellias that is late winter to early spring, roughly March to April. For Sasanqua camellias, which bloom in fall and early winter, prune in late winter, around January to February. This timing protects next year’s flower buds, which form on the new growth that develops after bloom.
Will pruning a camellia stop it from flowering?
Only if you prune at the wrong time. Camellias set their flower buds on new growth through late spring and summer, so pruning in summer, fall, or winter removes those developing buds and costs you blooms. Prune in the window right after flowering and the plant has the whole season to regrow and set fresh buds, so you lose nothing.
How do I fix a tall, leggy, bare-bottomed camellia?
Use the 1/3 method over three years. Each year, right after bloom, cut up to one-third of the oldest, thickest stems all the way to the base. The plant sprouts fresh low growth from the remaining wood, and after three years it is rebuilt full from the ground up. This staged approach keeps flowers coming and avoids the shock of cutting the whole plant down at once.
What is the difference between thinning and heading cuts?
A thinning cut removes an entire branch back to its origin, opening up the canopy for light and air without triggering bushy regrowth. A heading cut shortens a branch back to a node, which makes the plant denser and bushier at that point. For camellias, rely mostly on thinning to keep an open, healthy, natural form, and use heading only to control size or shape.
What are the swollen pale leaves on my camellia in spring?
That is camellia leaf gall, a fungal condition that distorts soft new growth into thick, fleshy, pale green or pinkish leaves and shoots. It looks dramatic but rarely harms the plant. Pick or prune off the galled tissue while it is still firm, before the undersides turn white and shed spores, then bag and discard it. Better airflow from regular thinning reduces it over time.