

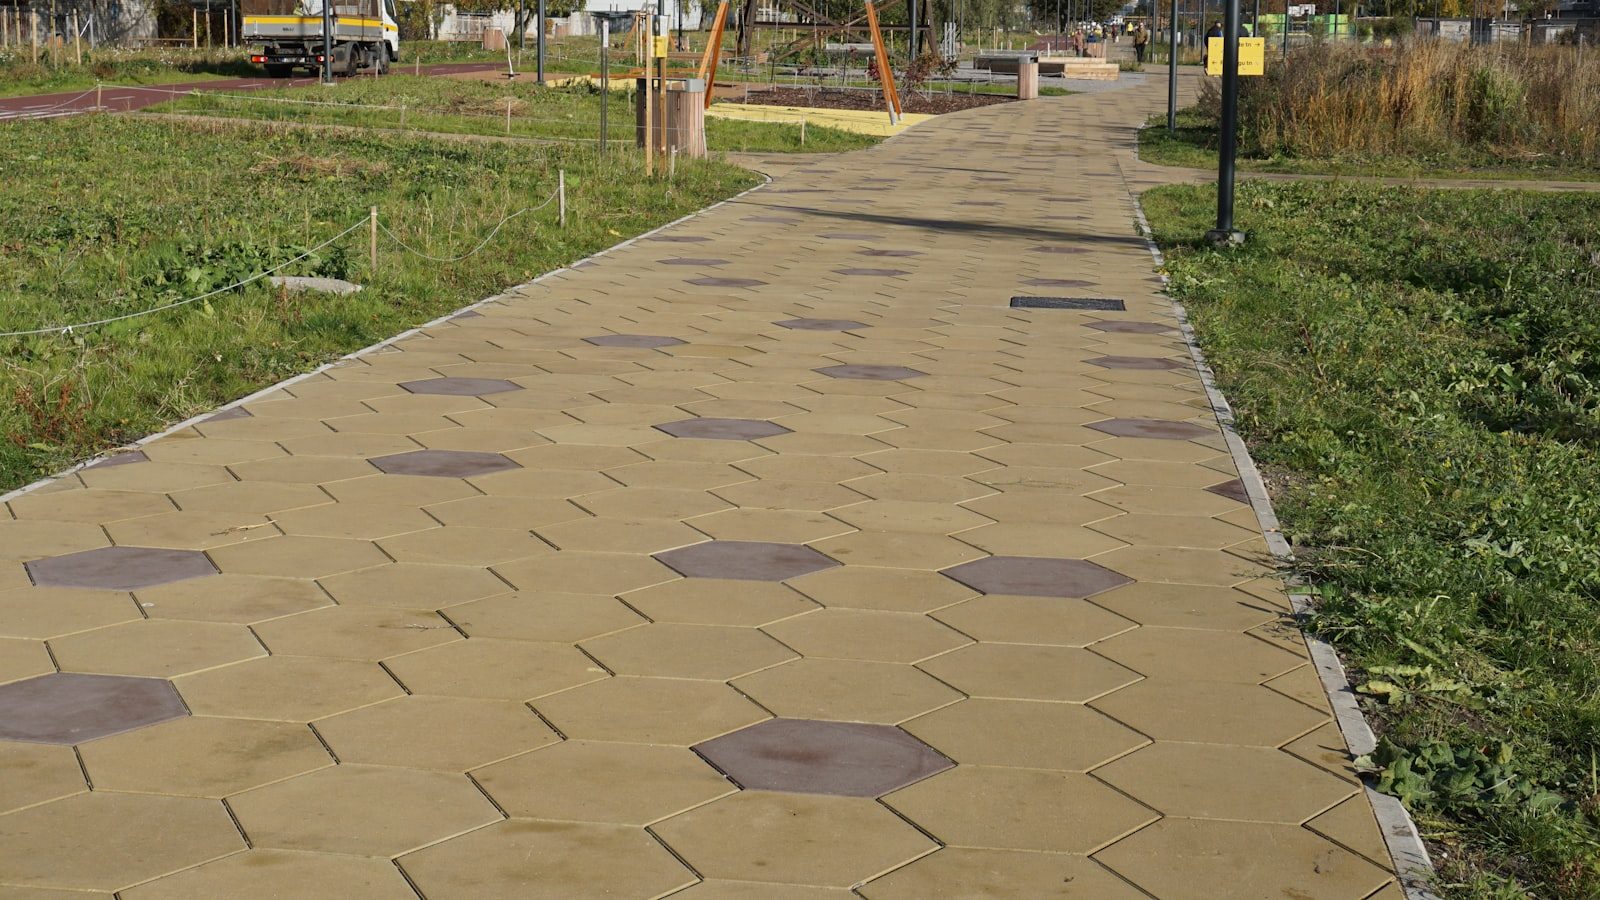
To lay a flagstone path, you excavate about 6 inches of soil, compact a 4-inch base of crushed rock, spread a 1 to 2 inch leveling bed of coarse sand or stone dust, then set each flagstone into the sand and tap it level with a rubber mallet, leaving consistent joints you later fill with sand, stone dust, or creeping ground cover. The work is methodical rather than difficult, and a sand-set path is fully DIY-friendly: no mortar, no concrete, and any stone that settles unevenly can be lifted and reseated in minutes. The payoff is a natural stone walkway that drains well, ages gracefully, and costs far less than a contractor install.
Flagstone is simply flat, slab-like stone split into walkable thicknesses, sold as sandstone, bluestone, quartzite, limestone, or local fieldstone. A dry-laid (sand-set) path is the right method for most home walkways because it flexes with frost heave, drains freely between the joints, and forgives the small imperfections of irregular natural stone. Mortared flagstone over a concrete slab is more permanent but is a bigger, more expensive project; for a garden path, dry-laid is almost always the smarter choice.
This guide covers the whole job in working order, with the depths, spacings, and stone-selection tips that produce a path that stays flat, stable, and good-looking for years instead of one that rocks, sinks, and sprouts weeds.
Key Takeaways
- Dry-laid (sand-set) flagstone is the best DIY method: it drains, flexes with frost, and any stone can be lifted and releveled.
- Build on a compacted 4-inch crushed-rock base topped with 1-2 inches of coarse sand or stone dust; never set stone directly on bare soil.
- Choose flagstones at least 1.5-2 inches thick for walkways so they do not crack underfoot.
- Keep joints consistent (1/2 inch to a few inches) and fill them with polymeric sand, stone dust, or a creeping ground cover.
- Set each stone flush with its neighbors so no edge stands proud and becomes a trip hazard; rock-check every stone before moving on.
Plan the Route and Buy the Stone
Lay out the path with two garden hoses or rope to define both edges, then live with it for a day and walk it a few times. Gentle curves feel more natural than rigid straight lines and hide the irregular edges of natural stone better. For a single-file garden path, 24 to 30 inches wide is comfortable; for two people side by side or a main walkway, plan 36 to 48 inches. Measure the total area in square feet so you can order stone accurately.
At the stone yard, you will choose between irregular (random-shaped) flagstone for a relaxed, organic look and cut (squared) flagstone for a formal, geometric path. Either way, insist on stone at least 1.5 to 2 inches thick for a walkway; thin patio flagstone cracks under foot traffic and point loads. Order roughly 10 to 15 percent more than your square footage to cover breakage, cutting waste, and the inevitable stones you reject for shape. Pick through the pallet and set aside your flattest, largest pieces for the most visible spots.
Excavate the Path
Dig out the routed path to a depth that accounts for your base, sand bed, and stone thickness, so the finished surface sits flush with or just above the surrounding grade. A typical recipe is about 6 inches of excavation: 4 inches of base, 1 to 2 inches of sand, and the stone set into that sand. Remove all sod, roots, and soft topsoil, and call 811 before digging so utilities are marked. Strip a few inches wider than the finished path on each side to give yourself room to work and to seat edging.
As you dig, build in a slight crown or cross-slope, about 1/4 inch per foot, so water sheds off the path rather than pooling on it. If the path runs across a slope, you may need to step it with low risers or build short retaining edges, but for gentle grade most flagstone paths simply follow the land. Tamp the bare subsoil firm with a hand tamper before adding any rock so the base has a solid floor to compact against.
Lay and Compact the Base
Spread 4 inches of crushed aggregate base, the “minus” type that includes fines (3/4-inch minus, road base, or crusher run), which compacts into a hard, stable mat. Add it in two lifts of about 2 inches, rake each level to your slope, lightly dampen it, and compact each lift with a plate compactor or hand tamper until it stops moving. This base is what keeps stones from sinking into soil and rocking over time, the same principle behind any solid hardscape; if you are also considering a loose-stone surface nearby, see how the base layer works in our guide to building a gravel patio.
On top of the compacted base, spread a leveling layer of 1 to 2 inches of coarse bedding sand or stone dust (decomposed granite or “screenings”). This is the forgiving layer you set the stones into and adjust against. Screed it roughly flat with a straight board, but do not compact it yet; you want it loose enough to bed each stone by tapping it down. Many builders prefer stone dust over loose sand for paths because it locks up firmer and resists washing out of the joints.
Set the Flagstones
This is the puzzle-solving part. Dry-lay your stones first without bedding them, arranging the pieces like a jigsaw so the joints are reasonably consistent and the prettiest faces show. Aim for joints of roughly 1/2 inch up to a couple of inches for an irregular path; tighter for cut stone. Mix stone sizes so big and small pieces alternate rather than clustering, and rotate stones to fit neighbors before reaching for a chisel. When you are happy with a section, work it for real.
To set each stone, scoop the sand bed to roughly match the stone’s underside, place the stone, and tap it down with a rubber mallet until its top sits flush with its neighbors. Lay a short level or a straightedge across adjacent stones to check; a stone that sits proud is a trip hazard, and one that sits low collects water. Step on every stone and rock it: any wobble means you remove it, add or scrape sand underneath, and reset until it sits dead solid. Work from one end to the other, and keep checking your overall surface slope as you go.
Cutting and shaping stones
You will inevitably need to trim a few stones to close a gap or square an edge. For natural fieldstone, score a line with a brick chisel and hammer, then strike along the score to snap it; the break will be rustic, which suits an irregular path. For cleaner cuts, an angle grinder with a diamond blade, or a rented wet saw, gives a crisp edge, but always cut outdoors with eye and ear protection and a dust mask. Plan cuts so the cut edge faces a joint or the path edge where it is least visible.
Fill the Joints and Add Edging
Once every stone is set and solid, fill the joints. You have three good options. Polymeric sand sweeps into the gaps dry, then hardens when misted with water to resist weeds and washout, the lowest-maintenance choice. Stone dust or coarse sand is cheaper and gives a natural look but will need occasional topping up. Or plant a low creeping ground cover such as creeping thyme, Irish moss, or blue star creeper in wider joints for a soft, green carpet between the stones. Sweep your chosen filler in, tamp it, and repeat until the joints are full just below the stone surface.
Edging keeps the bedding sand and joint filler from spilling out and the stones from drifting sideways over time. A buried steel or aluminum edge, a soldier course of brick, or even a neat trench-cut lawn edge all work. For paths that run through planting beds, the surrounding soil and plants often hold things in place, but anywhere the path meets a lawn benefits from a defined edge. A planted path edge ties the walkway into the garden; browse our outdoor living ideas for ways to soften and frame a new stone path.
Maintenance and Common Mistakes
A well-built flagstone path needs little upkeep. Sweep it, top up joint filler once a year, and reset the rare stone that heaves after a hard freeze by lifting it, adjusting the sand, and tapping it back flush. If you used a planted ground cover, trim it occasionally and water it through its first season to establish. Polymeric sand joints may need a refresh every few years where they crack or wash.
The mistakes that ruin flagstone paths are predictable: setting stone on bare soil with no compacted base (it sinks and rocks), using thin patio-grade stone on a walkway (it cracks), skipping the rock-check so stones wobble, and leaving uneven joints with proud edges that catch toes. Get the base right, buy stone thick enough for foot traffic, and check every single stone for level and stability before you move on, and your path will stay flat and handsome for decades. For a tougher, all-weather alternative to consider before you commit, weigh the trade-offs in our comparison of a gravel versus paver surface.
Frequently Asked Questions
Can I lay flagstone directly on soil or grass?
You can for a temporary or very casual stepping-stone effect, but the stones will sink, rock, and grow weedy quickly. For a path that stays level and stable, set the stones on a compacted crushed-rock base topped with a sand or stone-dust bed. The base is what prevents settling and wobble over time.
How thick should flagstone be for a walkway?
At least 1.5 to 2 inches thick for a path you walk on regularly. Thinner patio-grade flagstone is fine on a fully supported mortar bed but cracks under foot traffic and point loads when dry-laid. When buying, ask the stone yard specifically for walkway-thickness flag.
What should I fill the joints with?
Three good options: polymeric sand, which hardens after wetting to resist weeds and washout; plain stone dust or coarse sand for a natural look that needs occasional topping up; or a low creeping ground cover like creeping thyme for a soft green effect in wider joints. Choose based on how much maintenance you want.
How do I cut flagstone?
For a rustic break, score a line with a brick chisel and hammer, then strike along it to snap the stone. For a clean edge, use an angle grinder or wet saw with a diamond blade. Always wear eye, ear, and dust protection, cut outdoors, and orient cut edges toward joints or the path edge where they show least.
How do I stop a flagstone path from getting weeds?
Use a compacted base and keep the joints full of polymeric sand, which hardens to block weed seeds. Sweeping debris off the surface removes the soil that windblown seeds need to germinate in the joints. Spot-pull or spot-treat the occasional weed that still appears, and refresh polymeric sand every few years.