

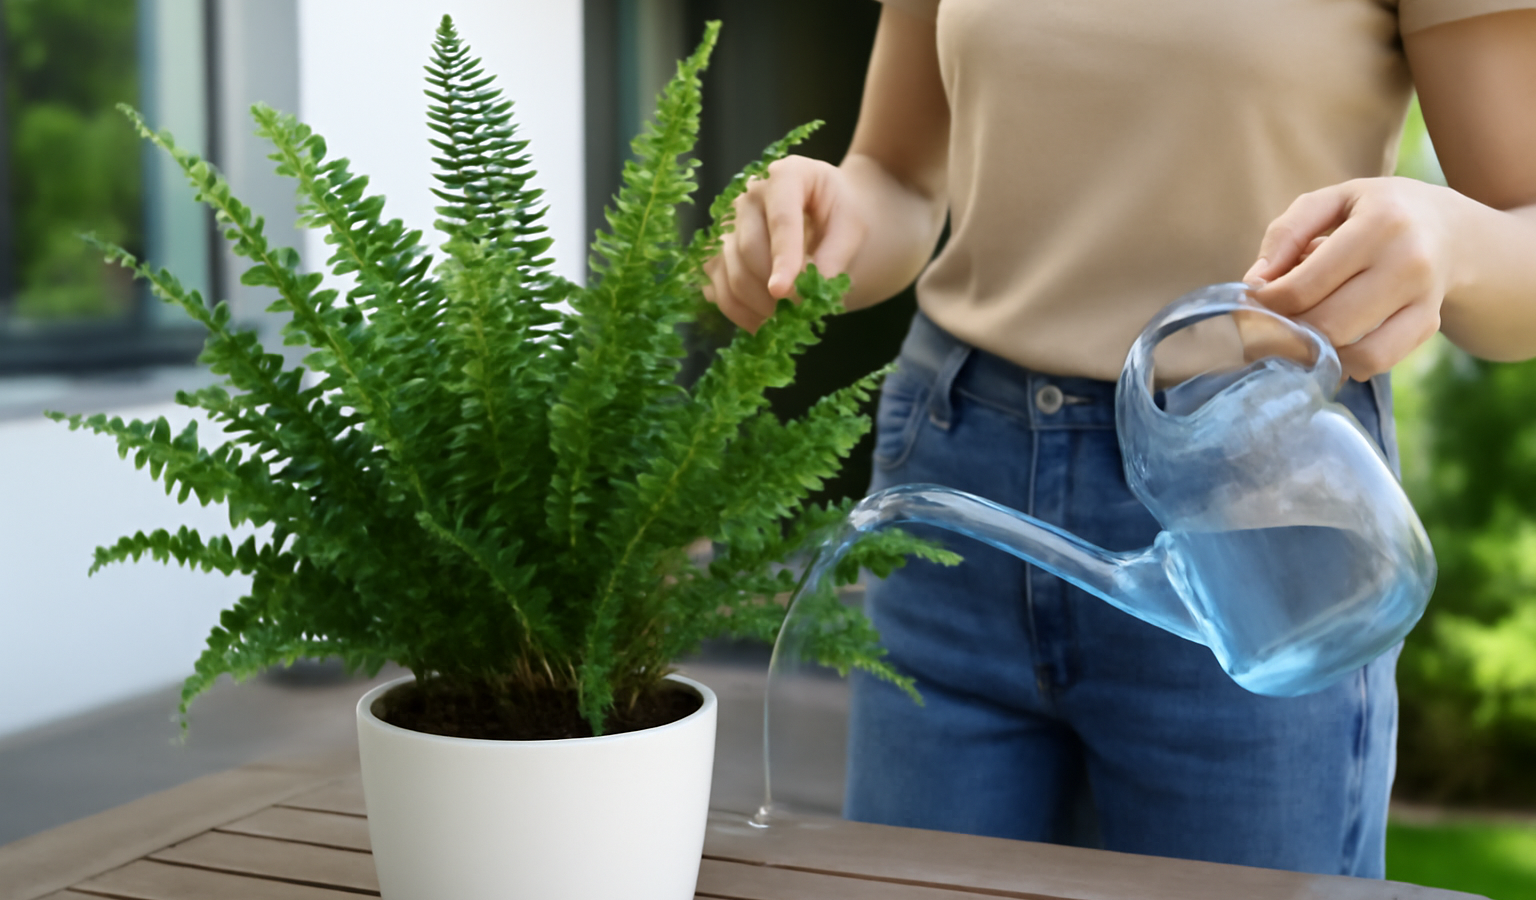
The Kimberly Queen Fern (Nephrolepis obliterata) is the tidy, upright cousin of the better-known Boston fern — and for many growers it is the easier plant to live with. Instead of the Boston’s arching, shedding fronds, the Kimberly Queen sends up stiff, sword-shaped fronds that grow straight up and out in a neat vase shape, so it drops far less debris and holds its form beautifully on a porch or in a large floor pot. Native to Australia, it is more forgiving of imperfect humidity and a bit more tolerant of sun than most ferns, which makes it a favorite for shaded patios in summer and bright corners indoors. This guide covers the full routine — light, watering, humidity, soil, feeding, dividing, and the handful of problems that turn fronds brown.
Key Takeaways
- Light: Bright, indirect light indoors; part shade to filtered sun outdoors. More sun-tolerant than a Boston fern.
- Water: Keep soil consistently moist but not soggy — water when the top inch starts to dry. Never let it dry out fully.
- Humidity: Prefers moderate to high humidity (50%+), but tolerates average household air better than most ferns.
- Soil: Rich, well-draining, peat- or coir-based mix that holds moisture; pot must have drainage.
- Propagation: Divide the root ball in spring — the cleanest, most reliable method.
- Hardiness: USDA zones 9–11 outdoors; grown as a houseplant or seasonal patio plant elsewhere. Non-toxic to pets.
Light Requirements
Kimberly Queen ferns want bright, indirect light. Indoors, place the plant near an east or north window, or a few feet back from a south or west window where direct rays are filtered. Good light keeps the fronds upright, full, and deep green; in too much shade the plant grows thin and pale and the fronds flop rather than standing tall.
This fern is notably more sun-tolerant than the Boston fern, which is why it is so popular as a patio and porch plant. Outdoors it does best in part shade to filtered sun — morning sun with afternoon shade is ideal. It can even handle a few hours of gentle direct sun once acclimated, but harsh, all-day summer sun will scorch the fronds yellow and crisp. If you move a plant outside for summer, transition it gradually over a week to avoid burn, and bring it back to bright indirect light when you return it indoors in fall.
Watering
Consistent moisture is the heart of fern care. Keep the soil evenly moist but never waterlogged. Water when the top inch of soil begins to feel dry, soaking thoroughly until water drains from the bottom, then empty the saucer. In the warm growing season and especially for plants on a breezy summer patio, this can mean watering every day or two — these ferns are thirsty and a large, leafy specimen in a sunny spot dries out fast. In winter, when growth slows, scale back so the soil stays lightly moist but not constantly wet.
The two failure modes are opposite and equally common. Letting the root ball dry out completely causes fronds to brown, crisp, and drop — and a fully dried fern is slow to recover. Constant sogginess, on the other hand, rots the roots and yellows the fronds from the base. Aim for the middle: moist like a wrung-out sponge. If your tap water is heavily chlorinated or softened, the fern will be happier with filtered or rainwater, as ferns can be sensitive to salts.
Humidity and Temperature
As a fern, the Kimberly Queen appreciates humidity of 50% or more, but here is its great advantage: it tolerates average household humidity far better than a Boston fern, which sulks and sheds the moment the air gets dry. Still, in a heated winter home you’ll get fuller, greener growth by raising humidity. Set the pot on a wide pebble tray filled with water, group it with other plants, or run a humidifier nearby. Misting helps only briefly and can encourage fungus on dense fronds, so a pebble tray or humidifier is the better long-term fix.
Temperature-wise, keep it between 60 and 80°F. It tolerates a brief dip to the high 40s but is damaged by frost, so bring patio plants indoors well before the first freeze. Outdoors it is hardy in USDA zones 9–11; in colder zones treat it as a houseplant or a seasonal container plant. Keep it away from cold drafts, heating vents, and air-conditioning blasts, all of which dry and brown the fronds.
Soil, Potting, and Feeding
Use a rich, moisture-retentive but well-draining potting mix. A quality peat- or coir-based houseplant mix with added perlite hits the sweet spot — it holds the steady moisture ferns crave while still draining excess water so roots don’t suffocate. A pot with a drainage hole is essential; decorative cachepots without drainage trap water and rot the roots.
Kimberly Queen ferns grow into substantial plants, 2–3 feet tall and wide, and they fill a pot with roots quickly. Repot every one to two years in spring, stepping up one pot size, or divide an overgrown plant (see below). When you see roots circling the surface or poking from the drainage hole, or the plant dries out within hours of watering, it is time.
Feed during the active growing season, spring through early fall, with a balanced liquid fertilizer at half strength every two to four weeks, or use a slow-release fertilizer in spring. Ferns are light feeders and sensitive to fertilizer salts, so under-feed rather than over-feed; brown frond tips can be a sign of too much fertilizer building up in the soil. Flush the pot thoroughly with plain water every couple of months to wash out accumulated salts.
How to Propagate by Division
Kimberly Queen ferns don’t produce the runners that make Boston ferns easy to pup, so the reliable way to make more plants is division. Spring, when the plant is gearing up to grow, is the best time.
Slide the fern out of its pot and look at the root ball — you’ll see it is made up of multiple crowns growing from a dense mass of roots. Using a clean, sharp knife, cut the root ball into two or three sections, making sure each division has a good share of both fronds and roots. Pot each division into fresh, moist potting mix at the same depth it was growing before. Keep the new divisions in bright indirect light, water them well, and maintain high humidity while they re-establish over the next few weeks. It’s normal for a divided fern to look a little ragged at first; trim off any badly damaged fronds and new growth will fill in. For more leafy-plant propagation methods, see our Plants & Flowers guides.
Grooming and Seasonal Care
Kimberly Queens are tidy, but a little grooming keeps them looking their best. Snip off any fully brown or yellowed fronds at the base to make room for fresh growth and improve airflow. If a plant gets dusty indoors, rinse the fronds in a lukewarm shower now and then — this also knocks back spider mites.
If you grow yours as a seasonal patio plant, bring it indoors before nighttime temperatures drop into the 40s. Expect some frond drop as it adjusts to lower indoor light and humidity; this is normal stress, not death. Cut back on water slightly over winter, keep it in your brightest indirect spot, and it will perk up and resume growth in spring. These ferns also make excellent porch and balcony plants for shaded urban spaces — see our Urban Gardening guides for more container and small-space ideas.
Common Problems and Fixes
Browning, Crispy Fronds
Usually underwatering, low humidity, or too much direct sun. Check the soil — if it’s dried out, water more consistently. Raise humidity and move the plant out of harsh sun and away from heating vents.
Yellowing Fronds
Often overwatering or poor drainage when the whole plant yellows from the base. Let the top inch dry between waterings and confirm the pot drains freely. A few older fronds yellowing while new growth stays green is normal aging.
Drooping or Flopping Fronds
The upright fronds flop when the plant is too dry or in too little light. Water thoroughly and move it somewhere brighter; firm, vertical fronds return with good care.
Pests
Spider mites and scale are the main culprits, especially in dry indoor air. Watch for fine webbing, stippled fronds, or small brown bumps on the stems. Rinse the foliage, raise humidity, and treat with insecticidal soap or horticultural oil. Note that some chemical pesticides damage ferns, so test on a frond first and prefer gentle insecticidal soap. Mealybugs and fungus gnats (from overly wet soil) can also appear; let the soil surface dry between waterings to discourage gnats.
Frequently Asked Questions
How much sun does a Kimberly Queen fern need?
Bright, indirect light indoors and part shade to filtered sun outdoors. It is more sun-tolerant than a Boston fern and handles a few hours of gentle direct sun once acclimated, but harsh all-day sun will scorch the fronds.
How often should I water a Kimberly Queen fern?
Keep the soil consistently moist, watering when the top inch starts to dry. In warm weather and on a summer patio that can be every day or two; in winter, water less often but never let the root ball dry out completely.
Is the Kimberly Queen fern toxic to pets?
No. True ferns like the Kimberly Queen are considered non-toxic to cats and dogs, making it a safe choice for pet households.
Why are my fern’s fronds turning brown?
Most often the soil dried out, the air is too dry, or the plant is getting too much direct sun. Water more consistently, raise humidity with a pebble tray or humidifier, and move it out of harsh sun and away from heating vents.
How do I propagate a Kimberly Queen fern?
By division. In spring, remove the plant from its pot, slice the root ball into two or three sections each with fronds and roots, and pot them up separately in fresh moist soil. They don’t form runners like Boston ferns, so division is the way.
The Kimberly Queen earns its reputation as the low-fuss fern: keep the soil evenly moist, give it bright indirect light, raise the humidity a notch in winter, and it stays upright, full, and clean without the constant shedding of a Boston fern. Divide it every couple of years in spring and you’ll have handsome, sword-frond ferns for the patio and the living room alike.