

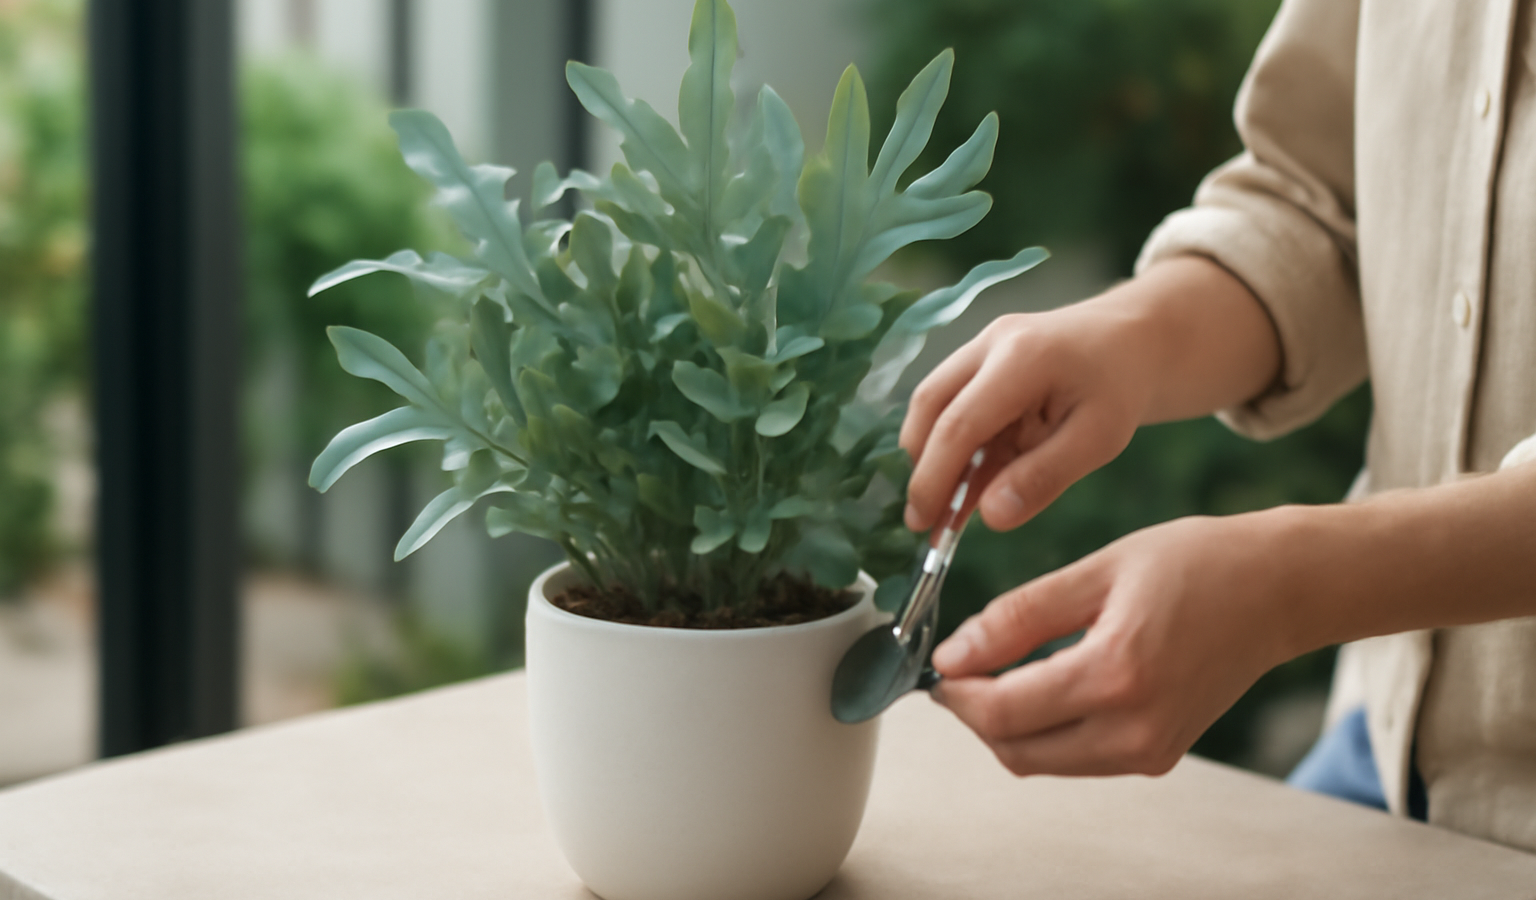
The blue star fern (Phlebodium aureum, still sold under the old name Polypodium aureum) is the fern I hand to people who swear they kill every fern they touch. Instead of the lacy, moisture-obsessed look of a maidenhair or Boston fern, it grows broad, finger-lobed fronds in a remarkable powdery blue-green that almost reads silver in the right light. It is an epiphyte, which means in the wild it grows clinging to tree trunks and branches rather than rooting in heavy soil, and that single fact explains almost everything about how to keep it happy. It also creeps along the surface on furry golden-brown rhizomes that look a little like fuzzy paws, which is where its other common name, the golden polypody, comes from. Get the light, the airy mix, and the watering rhythm right, and this is one of the most forgiving ferns you can own. This guide walks through everything blue star fern care involves, from soil recipes to propagation.
Key Takeaways
- Light: Bright, indirect light brings out the strongest silvery-blue color; protect from harsh direct sun.
- Water: Keep the mix evenly moist but let the top inch dry slightly between waterings; it tolerates brief dryness far better than other ferns and hates sogginess.
- Never bury the rhizomes: The fuzzy golden rhizomes must creep on top of the soil; covered or buried, they rot quickly.
- Mix and humidity: Plant in an airy epiphytic blend of orchid bark, coir, and perlite; it copes with 40 to 50 percent humidity but prefers higher.
- Pet-safe: The blue star fern is non-toxic to cats and dogs, so it is a worry-free choice for animal households.
Light
Blue star ferns want bright, indirect light. Picture how they live in nature: perched on a branch under a leafy canopy, bathed in filtered, dappled brightness all day but rarely struck by the full force of the sun. Recreate that indoors and the plant rewards you with dense growth and that signature dusty-blue tone on the fronds. The single best spot is a few feet back from an east-facing window, where it catches gentle morning sun, or near a north window that stays bright through the day. A south or west window works too, but only if you filter the glass with a sheer curtain or set the plant off to the side so the midday and afternoon rays never land directly on the leaves.
Direct sun is the main thing to avoid. A couple of hours of strong, unfiltered light will scorch the delicate fronds, leaving bleached, crispy patches that never recover. On the other end, deep shade will not kill the plant, but it slows growth to a crawl and washes out the blue cast, leaving fronds a flatter, ordinary green. If you only have a dim corner, a basic LED grow light on a timer for ten to twelve hours a day keeps it thriving. Rotate the pot a quarter turn every week or two so the fern grows evenly rather than leaning toward the brightest side.
Watering
This is where the blue star fern breaks the fern rulebook in your favor. Most ferns demand constantly damp soil and sulk the moment they dry out. Because this one is an epiphyte adapted to clinging to bark, it is noticeably more drought-tolerant and far less tolerant of staying waterlogged. The rule I use: water thoroughly when the top inch of the mix feels dry to the touch. Push a finger in to check rather than watering on a fixed calendar day. In practice that often means watering roughly once a week in spring and summer and stretching to every ten days or two weeks in the lower light and slower growth of winter.
When you do water, do it properly. Take the pot to the sink and pour water through until it runs freely from the drainage holes, then let every drop drain away before the plant goes back on its saucer. Never leave it sitting in a tray of standing water, and never let the airy mix turn into a soggy bog. Overwatering is the fastest way to lose this plant, because saturated conditions rot the rhizomes and roots within days. If anything, err slightly on the dry side. One more caution worth its own mention: blue star ferns are sensitive to chemicals in tap water, especially fluoride and chlorine, which can cause leaf-tip browning over time. Use rainwater, distilled water, or tap water that has sat out overnight to let chlorine dissipate, and your fronds will stay cleaner and greener.
Humidity and Temperature
Here is another area where the blue star fern is more forgiving than its relatives. While a maidenhair fern will collapse in dry household air, this plant copes reasonably well with average indoor humidity in the 40 to 50 percent range. That said, it is still a fern at heart, and it genuinely prefers more moisture in the air, growing fuller and showing fewer crispy edges when humidity sits closer to 60 percent or above. You do not need to obsess, but a little help goes a long way.
If your home runs dry, especially in winter when heating strips moisture from the air, group it with other plants to create a humid microclimate, set it on a pebble tray filled with water that sits below the pot base, or run a small humidifier nearby. Bathrooms and kitchens with decent light are natural homes for it. I would skip daily misting as a humidity strategy; it does little for ambient moisture and damp fronds can invite fungal spotting. As for temperature, blue star ferns are comfortable in the same range we are, roughly 60 to 75 degrees Fahrenheit. Keep them above 50 degrees, and protect them from cold drafts, hot radiators, and the dry blast of heating and air-conditioning vents, all of which stress the foliage.
Soil and Potting
Soil is the make-or-break factor, and standard potting mix is a trap. Because this fern is an epiphyte, its roots and rhizomes need air around them; pack them into dense, water-retentive soil and they suffocate and rot. What you want is a chunky, fast-draining, airy epiphytic blend that mimics the loose debris caught in the crook of a tree branch. A reliable recipe is two parts orchid bark, two parts coco coir or peat-free coir, and one part perlite. The bark provides the open structure and air pockets, the coir holds just enough moisture, and the perlite keeps everything from compacting. A handful of horticultural charcoal is a nice optional addition to keep the mix sweet.
Now the most important detail in this entire guide: do not bury the rhizomes. Those fuzzy, golden-brown, paw-like structures that creep across the surface are not roots to be tucked away. They are meant to sit on top of the mix, exposed to the air, sending true roots downward and new fronds upward as they travel. If you cover them with soil when potting, they will almost certainly rot, and you can lose the plant. When you pot or repot, nestle only the roots into the mix and leave the rhizomes resting visibly on the surface. Choose a pot with generous drainage holes; terracotta is excellent here because it breathes and wicks excess moisture. Repot only every two to three years, or when rhizomes start spilling over the rim, and even then go up just one pot size, since this fern grows best a little snug. For more foundational guidance on potting and indoor plant care, the plants and flowers hub is a good reference.
Feeding
Blue star ferns are light feeders and do not need much fertilizer to look their best. During the active growing season, from spring through early autumn, feed with a balanced liquid houseplant fertilizer diluted to half strength, applied roughly once a month. Half strength is deliberate: ferns are easily burned by concentrated salts, and an epiphyte’s fine roots are even more sensitive than most. Too much fertilizer shows up as scorched, browning frond tips and a crust of mineral buildup on the soil surface.
Always feed onto already-moist soil rather than a bone-dry mix, which protects the roots from a salt shock. Stop feeding entirely in late autumn and winter when growth naturally slows; pushing nutrients on a resting plant just causes buildup. If you ever notice a whitish crust forming on the soil or pot, flush the mix thoroughly with several pours of clean water to leach out the accumulated salts, and ease back on the feeding frequency.
Propagation
The easiest and most reliable way to make more blue star ferns is by rhizome division, and the creeping rhizomes practically invite it. The best time is spring, ideally when you are already repotting, so the plant has the full growing season to recover and establish. Start by removing the fern from its pot and gently teasing away enough of the old mix to expose the rhizome network and the roots beneath.
Look for a healthy section of rhizome that carries at least a couple of fronds and a decent cluster of its own roots. Using a clean, sharp knife or scissors, cut that section away from the parent. Each division needs both fronds and roots to survive on its own. Pot the new piece into the same airy epiphytic mix, settling the roots into the medium while, once again, leaving the rhizome resting on the surface rather than buried. Water it in lightly, then keep it somewhere warm with bright indirect light and slightly higher humidity than usual while it settles. Hold back on fertilizer for the first month or so. Within a few weeks you should see fresh fronds unfurling, your sign that the division has taken hold. Whole-spore propagation is possible but slow and finicky, so division is the route I always recommend.
Common Problems and Pests
Most trouble with this fern traces back to watering or water quality. Browning, crispy frond tips usually signal air that is too dry, a chemical reaction to fluoride or chlorine in tap water, or fertilizer salts building up; switch to filtered or rainwater, raise humidity, and flush the soil. Yellowing fronds and a generally limp, mushy plant point the other way, toward overwatering and the beginning of rhizome or root rot. If you suspect rot, unpot immediately, trim away any soft, dark, slimy rhizome or root tissue with clean scissors, and repot into fresh, barely damp airy mix. Pale, washed-out color with leggy growth means the light is too low.
On the pest front, watch for the usual indoor suspects. Scale shows up as small brown, limpet-like bumps along the fronds and stems that do not brush off easily. Mealybugs appear as fuzzy white cotton-like clusters tucked into frond joints. Fungus gnats, those tiny black flies hovering around the pot, are a sign the soil is staying too wet, so letting the top dry out more between waterings usually solves them on its own. For scale and mealybugs, wipe what you can off by hand with a cotton swab dipped in isopropyl alcohol, then treat the plant with insecticidal soap or a neem oil spray. One important caveat: ferns can be sensitive to oils and soaps, so test on a single frond first and apply diluted, out of direct sun. Repeat every week or so until the infestation clears, and isolate the plant from your other greenery while you treat it. If a fern of yours is browning despite good care, this guide on why ferns turn brown digs deeper into the causes.
Toxicity
Good news for animal lovers: the blue star fern is non-toxic to both cats and dogs, as well as people. It is considered pet-safe, so you can place it within reach of a curious cat or a nibbling dog without the worry that comes with so many popular houseplants. That said, no plant material is truly meant to be eaten, and a pet that munches a few fronds may still get a mild upset stomach simply from the roughage, so it is sensible to discourage grazing and keep the plant somewhere it can grow undisturbed. If you are building a genuinely pet-friendly indoor jungle, this fern is one of the easy wins, and you can pair it with other safe foliage like the crocodile fern for a textured, worry-free display.
Frequently Asked Questions
Why are the tips of my blue star fern turning brown?
The most common causes are dry air, chemicals like fluoride and chlorine in tap water, or a buildup of fertilizer salts. Raise the humidity, switch to filtered or rainwater that has sat out overnight, and flush the soil occasionally to leach out salts.
Can I bury the fuzzy rhizomes when I repot?
No. The golden, furry rhizomes must stay on top of the soil. They are designed to creep along the surface exposed to the air, and burying them almost always leads to rot. Settle only the roots into the mix and leave the rhizomes resting visibly on top.
How often should I water a blue star fern?
Water when the top inch of the mix feels dry, which is usually about once a week in spring and summer and every ten to fourteen days in winter. It is more drought-tolerant than most ferns and hates being soggy, so let it dry slightly rather than keeping it constantly wet.
Is the blue star fern safe for cats and dogs?
Yes. The blue star fern is non-toxic and considered pet-safe for both cats and dogs. A pet that eats a lot may still get a mild stomach upset from the roughage, so it is best to discourage grazing, but there is no toxicity concern.
Does a blue star fern need high humidity?
It tolerates average household humidity of 40 to 50 percent better than most ferns, but it prefers higher levels around 60 percent and grows fuller as a result. A pebble tray, plant grouping, or small humidifier helps, especially in dry winter air.
Care for a blue star fern really comes down to a few habits: give it bright indirect light, water when the top inch dries, plant it in an airy epiphytic mix, keep the humidity moderate, and above all leave those fuzzy rhizomes resting on the surface where they belong. Do that, and this pet-safe, blue-green beauty will reward you with one of the most striking and low-drama fern displays in the house.