

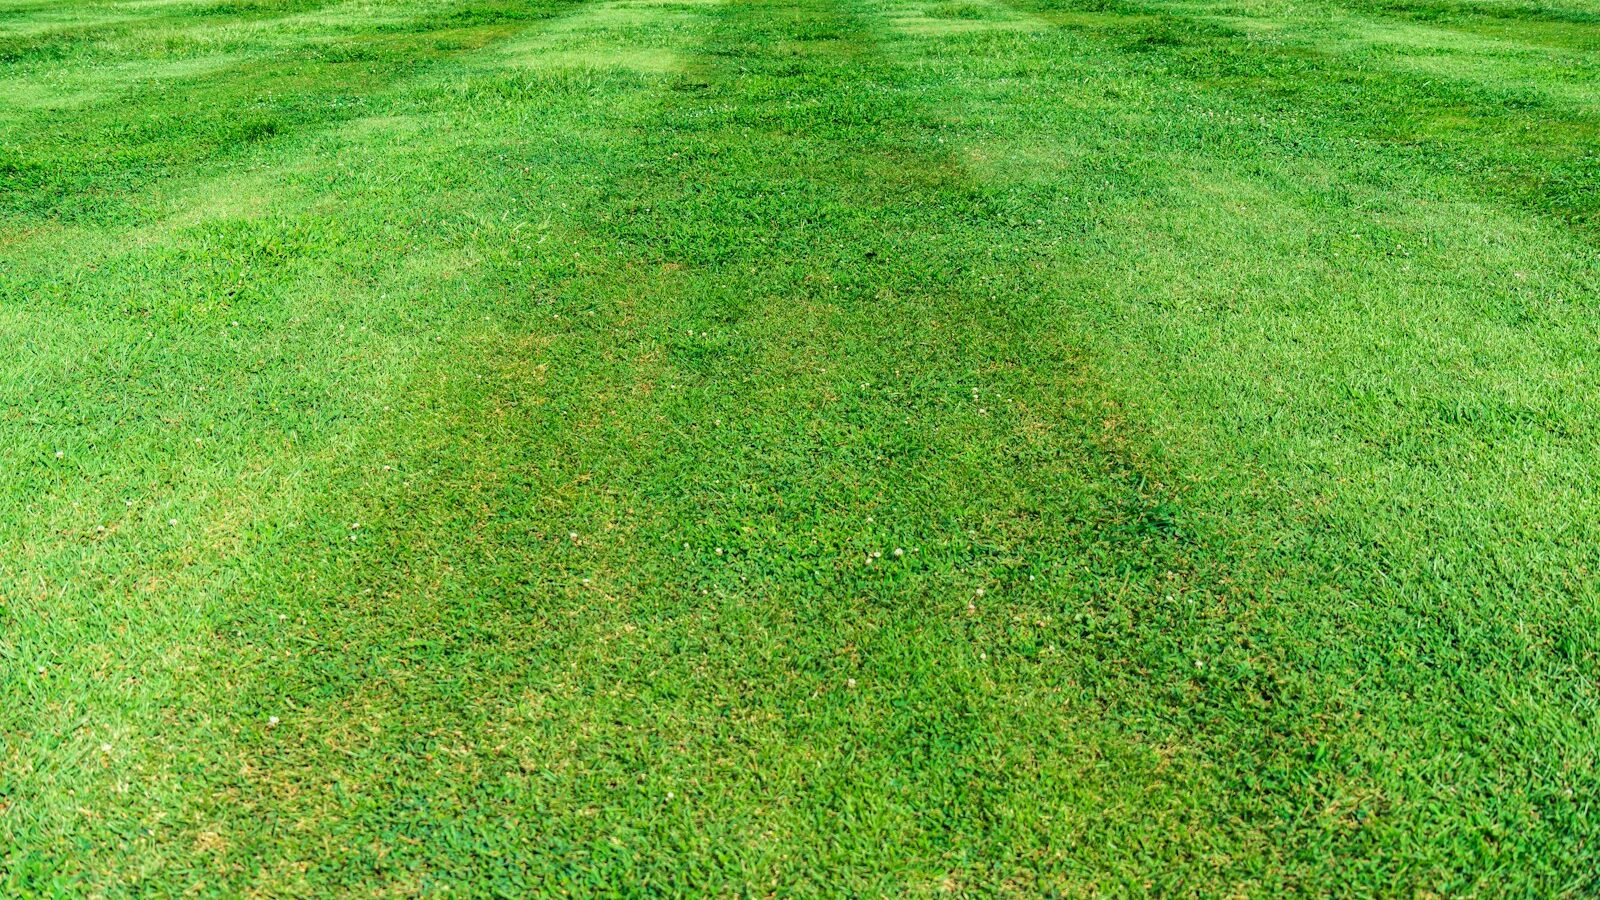
Those clean, alternating light-and-dark stripes you see on baseball fields and manicured front yards look like the work of a professional crew, but the secret is simpler than most homeowners expect. Striping isn’t about cutting your grass at two different heights, it’s about bending the blades in different directions so they catch and reflect sunlight differently. With a striping kit, a steady hand, and the right mowing pattern, you can put ballpark-style stripes on your own lawn this weekend.
Key takeaways
- Stripes come from bending grass, not cutting heights
- Use a striping roller/kit behind the mower
- Mow in straight lines using a reference point
- Cool-season grasses stripe best; mow high
- Try checkerboard or diagonal patterns
As an Amazon Associate we earn from qualifying purchases.
How Lawn Striping Actually Works
The most important thing to understand before you start is that lawn stripes are an optical illusion. There is no difference in color, health, or cutting height between a light stripe and a dark stripe right next to it. Every blade of grass on a properly striped lawn is the same length. What changes is the direction the grass is leaning.
When you push grass blades down so they lean away from you, the broad flat side of each blade faces up toward the sky. That side reflects more light back to your eyes, so the stripe looks pale, silvery, or “light.” When grass leans toward you, you’re looking more at the tips and the standing blades, which absorb and trap light in the shadows between them. That stripe looks dark green. Walk to the opposite end of the lawn and the light and dark stripes will appear to swap, because your viewing angle relative to the leaning grass has flipped.
Why direction is everything
Because the effect depends entirely on which way the blades are bent, your goal is to lay adjacent passes in opposite directions and to flatten the grass as firmly as you can. A mower deck alone bends grass a little, which is why you sometimes see faint stripes just from mowing. But to get crisp, high-contrast, ballpark-style lines, you need something dragging behind the mower to press the blades flat and hold them there.
The Gear: Striping Kits, Rollers, and Mowers
You can stripe a lawn with surprisingly little equipment, but a dedicated striping tool makes a dramatic difference in how sharp the lines look.
Lawn striping kits
A lawn striping kit is a roller or a heavy-duty brush that mounts to the rear of your mower deck. As you mow, it follows directly behind the blades and presses the freshly cut grass flat in the direction you’re walking. Most kits are universal and bolt or strap onto walk-behind mowers, and there are heavier versions designed for riding mowers and zero-turns. If you want the simplest path to clean stripes, a lawn striping kit built for your mower type is the single most effective upgrade you can make.
Weighted lawn rollers
If your mower won’t accept a kit, you can stripe by hand using a fillable drum-style roller. After you mow, you walk a lawn roller over each pass in the direction you want that stripe to lean. It’s more work because it’s a separate trip across the yard, but a heavy roller bends the grass firmly and produces excellent contrast. Many people already own one for leveling and seeding, which makes it a low-cost way to start striping.
Your mower matters too
A mower with a roller on the rear (common on reel mowers and some premium rotary mowers) will produce light striping on its own. A clean, sharp blade also helps, because torn or ragged grass tips reflect light unevenly and muddy the effect. If you’re shopping, our roundup of the best lawn mowers covers models that pair well with striping accessories, and you can browse lawn mower options to match your yard size.
Mowing in Straight Lines
The best striping roller in the world won’t save crooked passes. The single biggest skill in lawn striping is mowing in a genuinely straight line, and the trick the pros use is deceptively simple: pick a reference point and aim for it.
Use a distant reference point
Don’t stare at the ground right in front of the mower, because small wobbles will steer you off course and you won’t notice until the line is already curved. Instead, fix your eyes on a stationary object at the far end of your line: a fence post, a tree, a corner of the house, a window, or a spot on the neighbor’s roofline. Walk toward it the way you’d drive toward a landmark on the highway. Your hands will naturally make tiny corrections to keep you tracking straight.
Lay your first line carefully
Your first pass is the anchor for the entire pattern, so take your time with it. Many people run their first stripe along a straight edge they already have, like a driveway, sidewalk, fence, or bed border. Once that first line is laid, every following pass simply lines up against the one before it.
Free, no-obligation quote · Connect with a local pro
Overlapping Passes and the Perimeter
Consistent stripe width and clean turns come down to two habits: overlapping each pass slightly and mowing a perimeter lap to hide your turns.
Overlap a few inches every pass
On each new pass, let your mower’s wheel run along the edge of the stripe you just cut, overlapping by an inch or two. This guarantees you don’t leave thin uncut “mohawks” between stripes and keeps every stripe the same width. Even spacing is what makes a striped lawn read as deliberate rather than messy.
Do a perimeter pass
The end of every stripe is where you turn the mower around, and tight turns chew up the grass and leave ugly scuff marks. The fix is to mow one or two laps around the entire perimeter of the lawn last. This perimeter “frame” gives you a clean zone to turn in, covers up the torn-up turning spots, and gives the whole pattern a finished border. Make the perimeter pass your final step every time you mow.
Patterns: Stripes, Checkerboard, and Diagonal
Once you can lay straight, evenly spaced stripes, you can start playing with patterns. They all build on the same back-and-forth foundation.
Basic stripes
The simplest pattern is straight stripes. Mow one pass in one direction, turn around, and mow the return pass right beside it in the opposite direction. Adjacent stripes lean opposite ways, creating the alternating light-dark bands. Continue across the whole lawn, then finish with your perimeter lap.
Checkerboard
For a checkerboard, mow a full set of straight stripes in one direction, then mow a second full set of stripes at a 90-degree angle across the first. Where the two grids cross, the light areas overlap to make bright squares and the dark areas overlap to make deep squares, producing the classic ballfield checkerboard. Mow high and keep your spacing even, because the second grid relies on the first being tidy.
Diagonal and curves
Diagonal stripes are made exactly like straight stripes, but you start by laying your first line at a 45-degree angle to the lawn’s edges rather than parallel to them. Diagonals look especially striking on rectangular front yards. Once you’re comfortable, you can even mow gentle curves or a diamond pattern by combining diagonals in two directions. Whatever pattern you choose, re-striping the same lawn in the same direction week after week builds stronger, more durable stripes over time. For more ideas on dressing up your yard, see our outdoor living guide.
Which Grasses Stripe Best (and Mowing High)
Not every lawn stripes equally well, and the difference comes down to grass type and mowing height.
Cool-season grasses win
Cool-season grasses stripe far better than warm-season grasses. Kentucky bluegrass, perennial ryegrass, and tall and fine fescues have long, flexible blades that bend easily and stay bent, holding crisp contrast. These are the grasses you’ll find on most lawns across the northern US and the transition zone. Warm-season grasses like Bermuda, zoysia, and St. Augustine have stiffer, more upright blades that spring back quickly, so stripes on them are fainter and fade faster. You can still stripe a warm-season lawn, especially Bermuda mowed with a reel mower, but expect more subtle results.
Mow high for contrast
Longer grass blades have more surface area to catch light and more length to lean over, so taller grass produces bolder, higher-contrast stripes. Raise your mower deck toward the upper end of your grass type’s recommended range, often around 3 to 4 inches for cool-season lawns. Mowing high also keeps your lawn healthier by shading the soil and encouraging deeper roots, so it’s a win on both fronts. Just remember the one-third rule: never remove more than a third of the blade height in a single mow. If you’re unsure how frequently to cut, our guide on how often to mow your lawn walks through the right cadence for your grass.
Tips for Crisp, Long-Lasting Lines
A few finishing touches separate faint, blurry stripes from the bold lines that make neighbors slow down to look.
Dial in the details
- Keep a sharp blade. Clean cuts reflect light evenly; ragged tips look fuzzy and dull the stripes.
- Stripe when grass is dry. Wet grass clumps and tears, and damp blades won’t hold a bend as crisply.
- Mow slowly and steadily. A consistent walking pace keeps the roller pressing evenly and your lines straight.
- Water and feed for a healthy lawn. Thick, well-hydrated turf stripes best; our how to water your lawn guide covers deep, infrequent watering that builds strong blades.
- View stripes with the sun low. Early morning and late afternoon light, especially with the sun behind you, makes contrast pop.
- Change direction weekly. While re-striping the same way builds bold lines, rotating direction every few weeks prevents soil compaction and ruts.
Frequently asked questions
Do I have to cut my grass at different heights to make stripes?
No. This is the most common misconception about lawn striping. Every stripe is mowed at the exact same height. The light and dark bands come purely from grass blades leaning in opposite directions and reflecting light differently, not from any difference in cutting height.
Can I stripe my lawn without a striping kit?
Yes. Your mower deck bends grass enough to create faint stripes on its own, and you can boost the effect by rolling each pass with a weighted lawn roller or even dragging a flat board or push broom behind you. A dedicated striping kit just makes the lines sharper and the job faster.
Why do my stripes look better from one end of the yard than the other?
Because striping is an optical effect based on viewing angle. Grass leaning away from you looks light, and grass leaning toward you looks dark. When you walk to the opposite end, your angle flips, so the light and dark stripes appear to swap places. This is normal and means your stripes are working.
Will striping hurt my grass?
No, striping is gentle. You’re only bending the blades, not damaging them. The main thing to watch is soil compaction and ruts from repeating the exact same path; rotate your mowing direction every few weeks to keep the lawn healthy.
How do I get the boldest possible stripes?
Mow cool-season grass on the taller side, keep your mower blade sharp, use a striping roller, stripe when the grass is dry, and view the lawn when the sun is low in the sky. Re-striping in the same direction over several weeks also builds progressively stronger contrast.
Want a pro to care for your lawn?
Compare free, no-obligation quotes from vetted local lawn care pros near you.